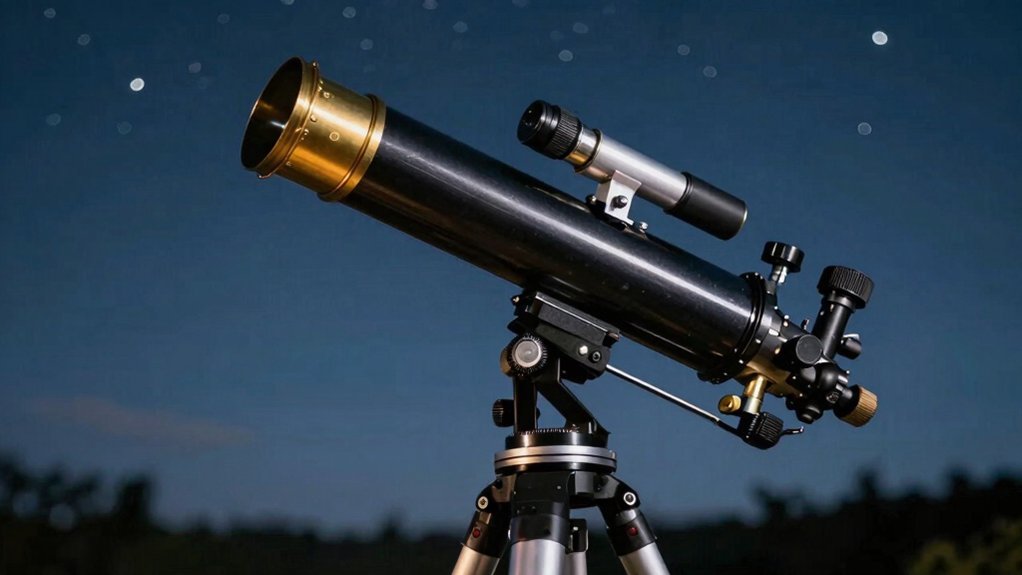
You’re staring at hazy stars, wondering if scrubbing that mirror will fix it or ruin it forever. Here’s the thing: only clean when grime actually dulls your view, not for minor dust. Mark orientation lines first, then rinse with lukewarm water before gently gliding soapy cotton outward. Finish with a distilled water flood to prevent spots, and let air dry completely before reassembling. Stick to these steps, and you’ll quickly see why patience beats panic when restoring crisp views.
Assess If Your Telescope Mirror Truly Needs Cleaning
So, how do you know if your mirror actually needs a bath? You start with a careful visual inspection under normal light. Don’t panic over tiny specks; they rarely hurt your views considerably.
Obviously, light dust stays put until it forms a visible layer. You only scrub when grime, haze, or fingerprints clearly coat the surface. Frequent washing risks scratches, so tolerate minor particles for now. Unlike refractors that use lenses, reflectors rely on primary mirrors that are more susceptible to alignment issues if handled too often during cleaning.
Watch for performance symptoms like dull images or reduced contrast too. If stars look sharp despite some dust, your mirror is still doing its job well. Combine visible residue with actual image degradation before acting. A flashlight can help assess the mirror’s cleanliness to confirm if haziness around stars indicates the need for cleaning. Remember that micro-scratches from over-cleaning scatter light far more than a little dust ever could.
Your goal is functional need, not cosmetic perfection on the glass. Wait until dirt becomes obvious without close scrutiny to avoid unnecessary damage. Now you understand exactly when cleaning becomes essential for your optics. Properly evaluating the necessity of cleaning ensures you maintain the optical performance of your telescope without introducing avoidable defects.
Set up a Dust-Free Workspace With Proper Drainage
You’ve decided your mirror needs cleaning, but where do you actually do it without making things worse? Pick a clean indoor spot away from fans or open windows. Dust settles fast, so you must control airflow strictly. Reduce clutter and fabrics nearby since they shed lint constantly.
Now, find a sink or tub large enough to fully submerge your glass. Proper drainage matters because dirty water ruins clean rinses instantly. Drain soapy grit completely before switching to fresh distilled water for the final rinse. Since telescope optics rely on precise light reflection, even microscopic particles left behind can scatter light and degrade image quality.
Good workspace organization keeps your cleaning supplies ready before you start handling anything. Line surfaces with lint-free towels to protect the coating during temporary rests. Keep drying areas separate from washing zones to avoid recontamination from splashes. Maintaining a stable temperature in your chosen room prevents thermal shock that could crack the glass during washing.
Your goal is a stable, dust-free environment for safe washing. Ready to mark that mirror’s orientation before removal? Experts recommend using distilled water for the final rinse to prevent mineral deposits from hard tap water.
Mark Orientation Before Removing or Washing the Mirror
Since you’re wondering where to start before touching that glass, let’s talk about marking orientation. You need an orientation marking now to save your sanity later. Grab a permanent marker and draw a clear line on the mirror’s side. Match this line perfectly with one on the cell rim too.
Why bother with such a tiny step? Well, it guarantees perfect assembly alignment when you put everything back. Imagine trying to solve a puzzle without knowing which piece fits where. That’s exactly what happens if you skip this essential pre-cleaning task. Your marks stay visible even while you wash and dry the glass safely. Maintaining optical collimation is critical because even slight rotational shifts can degrade image quality after reassembly.
Obviously, guessing the original rotational position leads to frustrating errors during reinstallation. Just make those paired lines before you lift anything out of the tube. This simple action prevents avoidable mistakes completely. Understanding the optical axis ensures that your markings preserve the precise alignment required for sharp stellar views. Now you’re ready to carefully remove the mirror without losing its reference point. You must also inspect for red mark to ensure the correct mirror orientation is preserved during the process. Properly aligning the primary mirror within its cell is fundamental to restoring the telescope’s optical performance after cleaning.
Rinse Loose Dust Off Before Applying Soapy Water
Now that your orientation marks are safe, you’re probably wondering how to touch the glass without scratching it. Don’t wipe it yet! You must rinse loose dust off first using plain, lukewarm water. This essential debris removal step stops grit from grinding into your delicate coating later.
Here’s the thing: gravity-assisted flooding works best. Tilt your mirror slightly and pour water gently over the surface. Let the flow carry particles away naturally instead of pressing them down. Avoid strong streams that might push debris unpredictably across the glass. These rinsing techniques guarantee you don’t create a muddy slurry before adding soap. Obviously, skipping this pre-rinse risks permanent scratches during the actual cleaning phase. Keep chemicals away for now; just use water to float off the loose stuff. Remember to fill sink with distilled water for submersion of mirrors to ensure no minerals remain after drying. Just as a well-structured page prioritizes user experience, your cleaning process must prioritize the safety of the optical surface above all else. Selecting the right equipment initially reduces long-term maintenance needs similar to how choosing specific telescope optics determines overall performance. Expert observers note that maintaining optical coatings is critical for preserving light transmission and image contrast over time.
Your takeaway? Always flood-rinse before soaping to protect your optics. Ready to introduce mild soap next?
Gently Clean Surfaces Using Cotton and Mild Soap
Grab some clean cotton balls to start the real cleaning work. You’re probably wondering how much pressure to apply without scratching that delicate coating. Obviously, you need almost none at all.
Soak your cotton in a mild soap mixture, using just one drop of dish detergent. Too many suds leave residue, so keep it slightly soapy. Glide the damp cotton across the wet mirror using only its own weight. Start from the center and move outward in straight lines.
Here’s the thing about proper cotton usage: you must switch balls frequently. Reusing dirty cotton drags grit back onto the surface, ruining your hard work. Discard each ball after one or two gentle passes. If grime remains, grab a fresh sphere rather than pressing harder. Your goal is lifting particles, not polishing glass. Keep the mirror submerged to reduce friction during this delicate dance. You should clean surface with cotton balls in a grid pattern, allowing gentle strokes and minimal pressure. Experts recommend using distilled water for the final rinse to prevent mineral deposits from forming on the optics. Understanding the optical coating sensitivity ensures you avoid damaging the reflective layer while removing stubborn debris. Proper technique prevents micro-scratches that can permanently degrade image quality over time. Now you are ready to rinse everything off completely.
Final Rinse With Distilled Water to Prevent Spots
Although you just washed the mirror, tap water leaves behind minerals like calcium that dry into stubborn spots. You need that final flush to remove dissolved solids before they harden on your precious glass. Obviously, hard water ruins clean optics fast if you skip this vital protection step today.
Now, let’s talk distilled water benefits and proper rinse techniques for your specific telescope setup. Pour generous amounts gently while holding the mirror at a steep angle so water drains off quickly. Don’t spray forcefully or scrub; just flood the surface for thirty seconds to wash away residue completely. Drain excess water by pouring distilled water over the mirror at an angle to ensure no droplets remain before drying. Just as selecting the right telescope optics determines image clarity, the purity of your rinse water dictates the final quality of your mirror’s surface. Understanding how light reflection works explains why even microscopic deposits can scatter photons and degrade the contrast of faint celestial objects. Expert observers recommend using deionized water as an alternative if distilled water is unavailable, as it similarly lacks the ions that cause spotting.
This simple action prevents haze and streaks that would otherwise ruin your viewing experience later tonight. Your mirror stays spot-free because pure water evaporates without leaving any mineral traces behind at all. Ready to let gravity finish the job without touching the surface again?
Air Dry Completely Before Reinstalling Optics
Resist the urge to wipe your mirror dry right now. You might think rubbing helps, but it actually risks scratching the delicate coating. Let gravity do the heavy lifting instead.
Stand the mirror on its edge so water runs off cleanly. This simple trick prevents pooling and nasty water spots later. Obviously, you want a flawless surface when you finish up.
Your drying environment matters just as much as your technique. Choose a warm, dust-free indoor spot away from pets or kids. Covering the glass loosely keeps airborne grit from settling on the wet surface.
Some folks use a cool hair dryer to speed things up slightly. Keep it at a safe distance to avoid thermal stress on the optic. Natural air drying remains the safest bet for your precious glass.
Wait until every single droplet vanishes before touching anything again. Trapped moisture causes streaks once you reassemble the telescope parts. Patience here saves you from doing this whole messy job twice. You must let the mirror air dry naturally rather than using tissues or similar materials that could damage the surface. Just as clear night sky conditions require patience and the right environment for observation, allowing your optics to dry properly ensures the best possible view. Selecting the right telescope options initially can also influence how frequently your specific optical design requires such intensive cleaning maintenance.
Reassemble Mirror and Perform Final Collimation Check
Realign your optics now that the mirror is bone dry. You’re probably wondering how to avoid misalignment during mirror reassembly. Start by reinstalling the primary cell using your original orientation marks. Place the mirror back gently, never touching that shiny surface. Tighten clips evenly in turns, keeping them secure but not overtight. Obviously, uneven pressure distorts your view, so go slow here.
Now, reattach the secondary mirror, supporting it firmly while securing the center screw. Preserve its marked rotational position to save yourself headaches later. Once everything sits squarely, you must perform a final collimation check. Use a Cheshire eyepiece for precise primary mirror tilt adjustments. Make tiny tweaks until reflections center perfectly in your view.
Verify all fasteners are snug without stressing the glass. Your telescope is finally ready for clear, sharp stargazing tonight.