You can’t spot Neptune with just your eyes because its magnitude of 7.8 falls well below the naked-eye limit of 6. Obviously, you’ll need binoculars or a telescope to catch that faint blue-green dot against the dark sky. Here’s the thing: light pollution washes it out completely, so find a truly dark spot first. Keep exploring to learn exactly how to lock onto this distant world tonight.
Can You See Neptune Without a Telescope?
Can you actually spot Neptune without any gear? Honestly, you probably can’t see it alone. Its faint glow pushes right past normal naked eye limits. You need binoculars or a telescope to catch this distant world.
Here’s the thing: Neptune sits at magnitude 7.8, too dim for unaided vision. Even perfect dark skies rarely reveal it without optical help. You might mistake it for a faint star during planet identification attempts.
Now, grab some 10×50 binoculars under a clear, dark sky. They turn that invisible dot into a tiny, star-like point you can actually track. A small telescope reveals its subtle blue-green tint against background stars.
Obviously, light pollution kills your chances instantly, so find true darkness. Use accurate star charts to pinpoint its exact location near bright signposts. Don’t guess; precise maps guide your search effectively every single time.
You’ll need optical aid, so prepare your gear for the next step. Understanding the aperture size of your chosen instrument is crucial because larger apertures gather more light, making faint objects like Neptune significantly easier to detect. This pursuit of clearer vision echoes the legacy of the revolutionary telescope milestones that first allowed astronomers to confirm Neptune’s existence. Selecting the right optical quality ensures that the limited light from such a distant planet is transmitted clearly to your eye.
Why Is Neptune Invisible to the Naked Eye?
Since you’re wondering why Neptune hides from your naked eye, let’s break down the simple math behind its invisibility. Neptune sits thirty times farther from the Sun than Earth, making its reflected sunlight incredibly weak. Its apparent magnitude of 7.8 falls well below your vision’s limit of magnitude 6.
You face serious observational challenges because the planet appears as a tiny, star-like point without distinct features. Light pollution from cities washes out this faint glow, burying it against the bright sky background. Even in perfect darkness, atmospheric scattering reduces the contrast needed to spot such a dim object. Beginners often overlook how optical stability affects their ability to distinguish faint points of light from background noise, a fundamental concept for mastering basic observation techniques.
Obviously, Neptune remains the only solar system planet completely invisible to unaided human vision under normal conditions. You simply cannot separate it from surrounding stars without help. Now that you understand these limits, you probably want to know exactly what gear bridges this gap. Understanding light gathering power is essential because larger telescope apertures collect significantly more photons, allowing you to detect faint objects like Neptune that remain hidden to the naked eye. Selecting a telescope with a larger aperture size ensures you gather enough light to make faint celestial bodies like Neptune visible against the night sky.
What Equipment Do You Need to Spot Neptune?
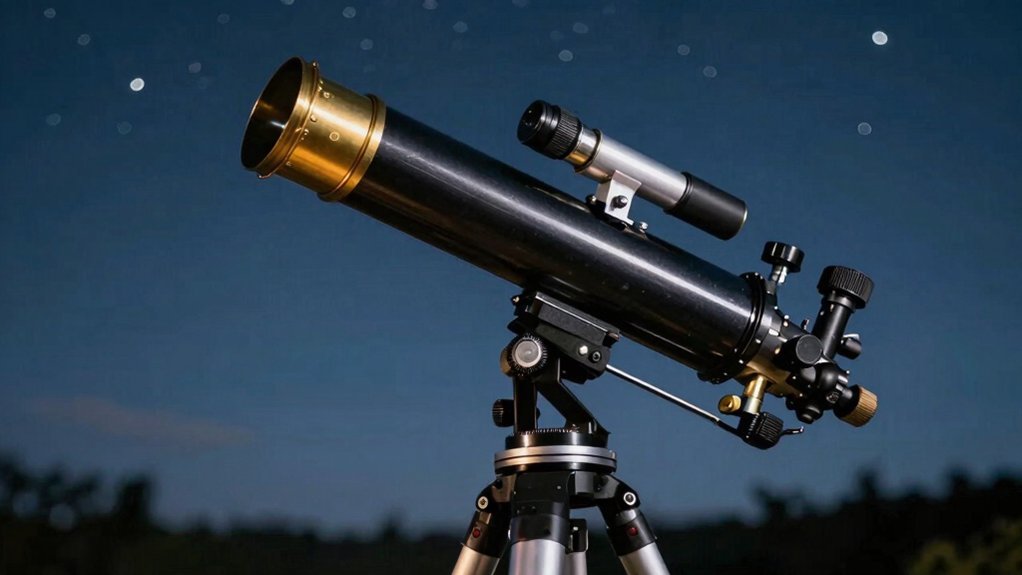
You’re probably wondering what gear actually pulls Neptune out of the starry background. You need a telescope with at least an 8-inch aperture to see its blue disk clearly. Smaller 6-inch scopes might work under perfect skies, but bigger lenses separate the planet from stars better.
Different telescope types require specific eyepieces, so grab short focal-length ones for 150x magnification or higher. Binoculars show a faint dot, yet they can’t confirm the planet without a star chart app. Now, consider your mount; a motorized tracker keeps that tiny speck centered while you look.
Here are some essential observing tips: use blue filters for contrast and pick dark, steady nights. Obviously, turbulence blurs small disks, so wait for calm air near opposition. Your sturdy tripod prevents shaking when you crank up the power to 200x.
Start with low power to find the field, then switch high to verify. Next, you’ll want to know if that dot looks like a star or a disk. Understanding the relationship between aperture size and light gathering is crucial because larger apertures reveal the planet’s true color and distinguish it more effectively from background stars. When selecting your instrument, remember that reflector telescopes often provide the large aperture needed for deep-sky viewing at a lower cost than other designs. To successfully observe such faint objects, you must ensure your location has minimal light pollution to maximize the contrast between the planet and the night sky.
Does Neptune Look Like a Star or a Disk?
Why does that blue dot still look exactly like a star? You see a point because Neptune sits far away. Its faint magnitude of 7.8 hides it from naked eyes completely. Even through small telescopes, you often spot just a tiny blue speck.
Now, higher magnification changes everything for your view. At 200x power, that star-like point finally expands into a tiny disk. This shift in neptune appearance helps you distinguish it from background stars easily. Identifying planets requires checking for this specific non-stellar shape and blue hue.
All right, you need strong optics to see that round form clearly. Without enough power, it remains a fuzzy, blue-green dot against the dark sky. You must compare it with nearby stars to confirm the difference truly exists. To achieve the necessary clarity for such distant objects, enthusiasts should prioritize optical quality when selecting their equipment. Selecting the right telescope options ensures you have the aperture and stability needed to resolve such faint, distant disks against the night sky. Understanding how aperture size directly impacts light gathering is essential for resolving these faint, distant details.
How Do Sky Conditions Affect Visibility?
You’ve got the optics ready, but that blue dot still vanishes when city lights glow. Light pollution creates sky glow that drowns faint planets instantly. You need a dark observing location to boost visibility contrast markedly. Obviously, rural sites beat urban rooftops every single time.
Now, check the moon phase before heading out tonight. Bright moonlight raises background brightness and kills your chances completely. Weather conditions like haze or clouds also block your view entirely. You want clear, dry air for maximum transparency and sharpness.
Atmospheric turbulence blurs tiny images, making identification nearly impossible sometimes. Horizon clarity matters too when the planet sits low overhead. Haze near the ground erases contrast against background stars quickly. Stable, cold nights offer the steadiest air for spotting Neptune.
Your best bet involves dark skies, no moon, and steady air. Find that perfect spot, then look up when conditions align. To further improve your view, allow your eyes time for dark adaptation so they become sensitive enough to detect faint objects. Selecting a telescope with high magnification allows you to enlarge the planet’s disk, making it easier to distinguish from surrounding stars under these optimal conditions. Remember that light pollution maps can help you locate the darkest areas nearby to maximize your viewing potential.
Where Should You Look in the Night Sky?
All right, you’re probably staring at that vast southern sky wondering exactly where to point your binoculars. You’ll find the Neptune location generally low, about one-third up from the horizon toward the southwest. It hides near Aquarius or Capricornus, looking just like another faint star against the dark backdrop.
Grab updated sky charts because this planet shifts slowly night to night against those background stars. Use observing techniques like star-hopping from the bright Capricornus triangle or nearby Jupiter to narrow your search field. Celestial navigation becomes essential when you aim roughly twenty-four degrees above the horizon for the clearest view.
You must time your hunt when the planet reaches its highest point to cut through atmospheric haze. Don’t expect a blue disk; you are hunting a specific coordinate, not a glowing orb. Now you know exactly where to aim your eyes before confirming your catch. For the best results, ensure you observe from a location with minimal light pollution to maximize contrast against the faint background stars. While binoculars may reveal a star-like point, understanding how telescope optics work can help you appreciate why larger apertures are needed to discern planetary disks rather than just points of light. Selecting equipment with a larger aperture size significantly improves your ability to distinguish faint planetary details from the surrounding star field.
How Can You Confirm It Is Neptune?
Since that faint dot looks exactly like a star, you’re probably wondering how to prove it’s actually Neptune. You need specific observation techniques to separate the planet from background stars effectively. Match your view against a finder chart, ensuring every surrounding star aligns perfectly with the map.
Now, try motion verification over several nights to confirm your suspect. Stars stay fixed while Neptune shifts slightly against them, revealing its true identity clearly. This movement proves you aren’t just looking at a distant sun.
Look closer with high magnification, aiming for at least 120× power. You might see a tiny blue disk instead of a sharp point. Poor air stability can blur this disk back into a star-like speck unfortunately. Color helps, but never rely on hue alone for proof.
Combine chart matching, motion checks, and disk sightings for certainty. Single-night views often lead to wrong conclusions quickly. Repeat your session under dark, clear skies for best results. You now hold the keys to positive identification. Ready to track its path tomorrow night? Utilizing expert-backed guidance ensures your observation methods remain accurate and effective throughout the process. Consulting practical insights from experienced observers can further refine your ability to distinguish planetary motion from stellar background noise.
What Mistakes Do Beginner Observers Make?
Even when you spot that faint dot, jumping straight to high power often ruins the view immediately. You need wider fields first, so grab a 20 mm eyepiece before trying anything stronger. Rushing your telescope settings creates blurry, frustrating images that hide the planet entirely.
Here’s the thing: skipping that twenty-minute cooldown period wrecked your sharpness before you even started. Thermal equilibrium matters hugely for resolving fine details on distant ice giants. Ignoring sky conditions or light pollution also makes faint objects vanish completely from your sight. Proper planning prevents poor performance by ensuring you monitor weather conditions to avoid cloudy nights that waste your observing session.
All right, neglecting basic star patterns leaves you lost without a mental map to guide you. Mastering these observing techniques builds confidence and saves hours of confused searching in the dark. Use red lights to protect your night vision while aligning your finder scope carefully.
Don’t let poor habits stop your revelation; fix your approach now for clearer views tonight.