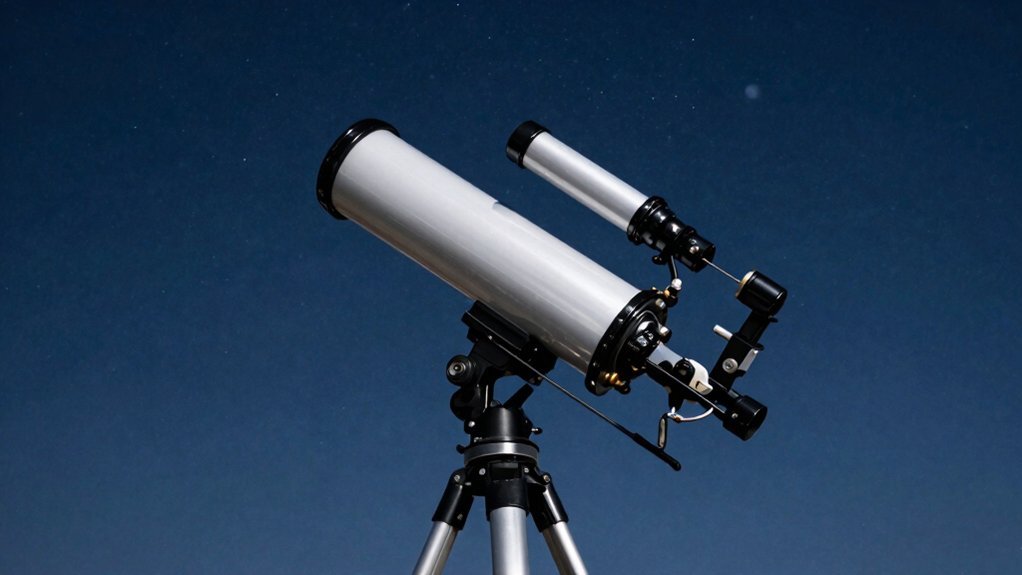
You’re staring at fuzzy blobs because your scope needs a dark, stable spot first. Find a Bortle 4 zone and align your finder on a landmark 100 yards away. Start with a low-power 25mm eyepiece to locate bright planets like Jupiter before swapping up. Let the telescope cool for thirty minutes, then focus slowly until stars snap crisp. Master this routine now, and you’ll soon reveal the hidden details waiting in tonight’s sky.
Find a Stable, Dark Spot for Your Scope
Since you’re wondering where to set up, let’s clear that up right now. You need a spot prioritizing light pollution reduction for the best views. Check a map for Bortle 4 or darker zones to see the Milky Way. Avoid city glows and highway lights completely. Only 1% of people in the U.S. can currently view the night sky in its full splendor due to widespread light pollution.
Now, guarantee firm, level ground so your tripod stays steady during high magnification. Soft dirt or slopes cause annoying vibrations that blur your image. You also must consider site accessibility when hauling heavy gear in the dark. Easy paths prevent trips and make setup much smoother. Different telescope designs offer varying levels of portability and weight, which directly impacts how easily you can transport them to these ideal remote locations.
All right, pick open fields or high elevations for clear horizons. Stable footing matters more than you might initially suspect. Your telescope needs stillness to reveal faint nebulae clearly. Allow your eyes at least 20 minutes to fully adapt to darkness before expecting to see fainter objects. Remember that moon phases significantly impact sky brightness, so planning around a new moon yields the darkest conditions.
Choose a dark, flat spot with easy access tonight. Ready to align your optics on a distant landmark next?
Align Your Finder Scope on a Distant Landmark
Although it feels tricky now, you’re asking exactly the right question about aligning your finder scope. Pick a stationary object like a chimney at least 100 yards away during daylight. Obviously, moving cars won’t work for this vital step.
Now, center that target in your main eyepiece first using the lowest power available. Lock the telescope tight so nothing drifts while you work. You need absolute stability here before touching any screws.
Next, tweak the bracket screws or knobs until your finder matches the main view. These small telescope adjustments guarantee your crosshairs or red dot hit the same spot. Proper finder scope alignment saves you endless frustration later when hunting faint stars.
Check a second distant landmark to confirm everything stays perfectly synced up. Repeat this process every time you set up your gear outside. Regular alignment is key for successful observing sessions. Experts recommend performing this daytime calibration to ensure maximum accuracy before nightfall. This step ensures the optical axes of both scopes are parallel for precise targeting. Just as revolutionary telescope designs transformed astronomy by enabling precise discovery, your personal setup relies on this same foundational accuracy. Ready to finally see some real sky objects clearly?
Start Observing With a Low-Power Eyepiece
Why does everything look so fuzzy when you first peek through that scope? You likely grabbed the wrong eyepiece. High magnification effects often darken images and amplify shaky air, ruining your view immediately.
Start with the longest focal length eyepiece available. This low-power option gives a wider field, making targets easier to find. Different eyepiece types exist, but this specific one keeps views bright and stable. Position your eye about 15mm back to avoid black rings.
Obviously, you want clear skies, yet poor atmosphere hurts high power most. Low magnification forgives bad seeing while framing large objects beautifully. Keep your image bright and steady before attempting any detailed inspection later. Since lower magnifications create larger exit pupils, the resulting image appears brighter and is easier to locate in the dark. Understanding how light gathering power works explains why these wider views remain visible even when conditions are less than perfect. The optical tube assembly collects this available light and directs it to the focal point where your eyepiece magnifies the image. Beginners should remember that true field of view determines how much of the sky you can see at once, which is maximized when using low power.
Master this wide-view approach first. Once centered, you can swap lenses for closer looks. Now, let’s get that blurry moon into sharp focus.
Focus Sharply on the Moon or Bright Stars
Even when you’ve centered the Moon, that fuzzy blob probably makes you wonder if your optics are broken. Don’t panic yet. You just need better focusing techniques to sharpen that view.
Start with a low-power eyepiece, like 25mm, to find the target easily. Turn the focuser slowly until crater rims snap into crisp detail. Bright stars work too; they should look like tiny, sharp points, not soft blobs.
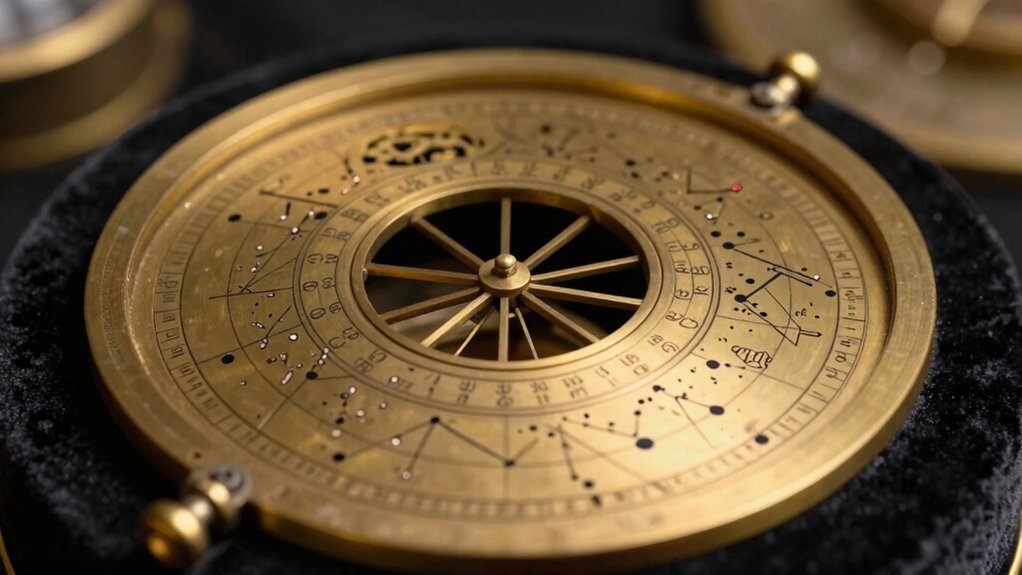
Here’s the thing: atmospheric conditions often blur images even when focus is perfect. Turbulent air shimmers, making everything look soft regardless of your adjustments. Let your telescope cool down outside for thirty minutes to stabilize the optics. While modern instruments offer incredible clarity, early astronomers relied on the history of the telescope to push the boundaries of what was visible in the night sky. Achieving this thermal equilibrium is essential because temperature differences between the mirror and air create internal air currents that distort the light path before it even reaches your eye.
Obviously, you must refocus whenever you swap eyepieces or add a Barlow lens. High contrast features reveal true sharpness best during these checks. Keep tweaking until edges look definitive and clear. Consider using polarizing filters to reduce glare and enhance contrast when observing bright moonlight. Just as smart shoppers analyze what drives the cost of equipment to find realistic price ranges, understanding your gear’s limits helps you maximize its performance without overspending.
Now that your view is sharp, are you ready to hunt for planets?
Locate Planets and Bright Constellations First
Now that your view is sharp, you might wonder where to point next. Start with bright planets like Jupiter or Mars since they don’t twinkle like stars. Use sky apps or printed star maps for identifying constellations before you even lift your telescope.
Naked eye observation helps you beat urban light pollution by finding open, dark spots first. Look for the Big Dipper to practice basic celestial navigation using cardinal directions. You’ll quickly learn that steady lights are usually planets, while flickering ones are distant stars. Understanding how optical magnification affects image brightness ensures you select the right eyepiece for these luminous targets without washing them out.
Grab your phone, check tonight’s sky, and pick an easy target overhead. This simple step builds confidence before you hunt fainter objects later. Mastering these bright beacons guarantees you won’t get lost in the vast dark. Understanding realistic visibility limits ensures you set appropriate expectations for what your equipment can reveal under current sky conditions. Remember that moon phase significantly impacts contrast, so plan your sessions around new moons to see the faintest details.
Track Targets and Swap Eyepieces Carefully
Once you’ve locked onto a bright target, you’ll notice it drifting out of view because Earth never stops spinning. You need constant tracking adjustments to keep that planet centered. Manual knobs or motors fight this drift effectively. A star tracker matches the apparent sky rotation to effectively freeze deep space objects for clearer imaging.
Start with a low-power eyepiece, maybe 25mm, for the widest view. Center your object perfectly before swapping. Higher eyepiece magnification shrinks your field drastically, making centering critical. Jumping straight to high power often loses the target entirely.
Swap gradually, stepping down focal lengths one by one. Refocus every single time you change glass. Keep your tripod rock solid during these swaps. Touching the tube ruins your alignment instantly. Fine controls beat pushing by hand. Ensuring your eyes are fully dark adapted beforehand will significantly improve your ability to spot faint details once the object is centered.
Master this rhythm: center, swap, refocus, track. Your views will stay sharp and stable. Ready to learn how cleaning protects this precision?
Clean and Store Your Telescope Properly
After all that tracking and swapping, you’re probably wondering how to keep your views this clear without scratching the glass. Start telescope maintenance by blowing loose dust away with an air puffer before touching anything. Brush remaining grit gently, then wipe smudges using microfiber cloths and specialized fluid only when needed.
Now, dry every part thoroughly indoors for twelve hours to stop mold growth before storage. You must prioritize lens protection by keeping humidity below fifty percent using silica gel packets. Store your scope in a cool, dry closet rather than a hot, dusty garage. Cover it with breathable cloth and stash eyepieces separately to prevent scratches or damage.
Regularly inspect optics for early signs of moisture or pests hiding inside your tube. Obviously, clean tools and dry conditions save you from costly repairs down the road. Keep your gear ready for tonight’s stars by mastering these simple cleaning habits now. Avoid using standard glass cleaners or solvents, as they can strip the delicate optical coatings and permanently damage the light-gathering ability of your telescope. Always ensure you use optics-specific cleaning fluid to safely remove stubborn residues without harming the mirror or lens surfaces. Just as a well-structured web page layout guides visitors smoothly through content, a systematic cleaning routine ensures your equipment remains in peak condition for every observation session.