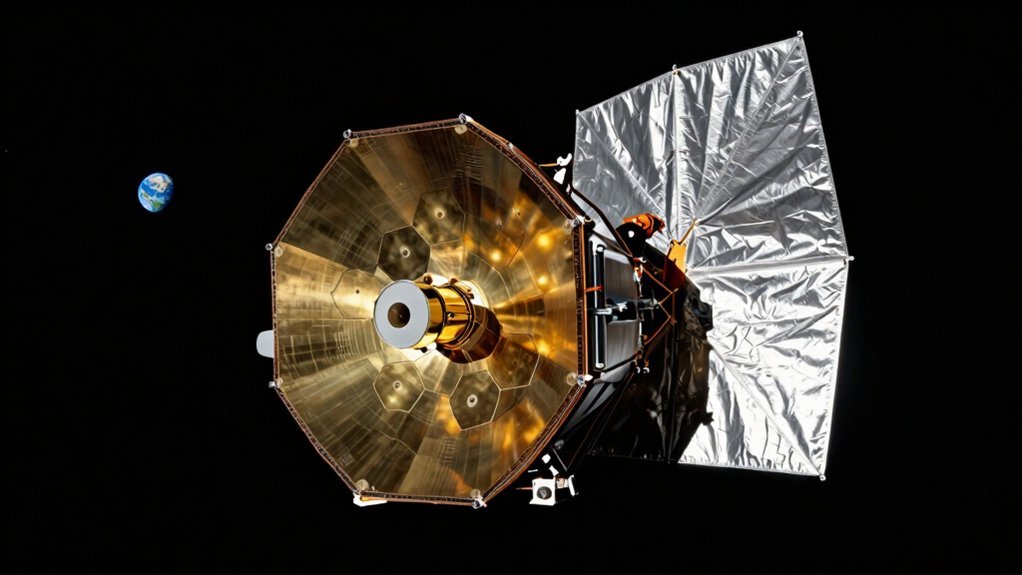
You’re wondering how reflectors dodge color fringing? They use mirrors, not lenses, to bounce light without splitting colors. Your primary mirror gathers rays, while a secondary mirror angles them to your eye at 45 degrees. Obviously, this parabolic shape focuses everything sharply, unlike cheap glass that blurs edges. Now you see why they offer huge apertures for less cash. Keep going to learn exactly how to align those mirrors for perfect views.
What Is a Reflector Telescope and How Does It Work?
If you’ve ever wondered how astronomers spot faint galaxies without huge glass lenses, you’re asking exactly the right question. A reflector telescope uses mirrors instead of lenses to gather light, acting like a giant light bucket. This specific telescope design avoids color fringing completely because mirrors reflect all wavelengths equally well.
You’ll find two main optical components inside: a large concave primary mirror and a smaller flat secondary one. The primary mirror captures incoming starlight and bounces it toward a focus point near the top. Then, the secondary mirror intercepts those rays at a 45-degree angle, redirecting them sideways to your eyepiece.
Obviously, this reflection process lets you build huge apertures affordably compared to massive glass lenses. You get bright, sharp views of deep-sky objects without the chromatic aberration plaguing refractors. Since the primary mirror is located at the bottom of the tube, the entire assembly remains shorter and more manageable than equivalent lens-based systems. Now that you grasp the basics, are you ready to trace that light path further? Visual diagrams can help illustrate the light path to make these mechanics even easier to grasp. Most modern designs utilize a parabolic shape for the main mirror to ensure precise light focusing without spherical aberration.
How Light Travels Through a Newtonian Reflector
Since distant starlight arrives as nearly parallel rays, you’ll watch them dive straight down your open tube. They hit the big concave primary mirror at the back, which instantly bounces them forward. This main mirror forces those scattered rays to converge toward a single mirror focus point.
Now, before the light actually meets at that spot, a tiny flat secondary mirror intercepts it. Angled at 45 degrees, this small piece redirects the beam out through the tube’s side. You see, the secondary doesn’t create the image; it just shifts the entire light path sideways. This clever trick lets you view the sky without blocking incoming starlight yourself. The design relies on a parabolic curve to ensure all incoming parallel rays meet at a single sharp point without spherical aberration. Keeping the tube interior painted matte black prevents stray reflections from washing out faint celestial details.
The focused beam then enters your eyepiece, magnifying the sharp image for your eye. Obviously, mirrors avoid color fringing issues that plague glass lenses. Your next step? Understanding why that primary mirror’s specific curve matters so much. For optimal viewing, ensure your optics maintain precise collimation to keep the light path perfectly aligned.
Why Parabolic Mirrors Beat Spherical Ones
Although your primary mirror looks like a simple curve, that specific shape actually decides whether your stars look sharp or blurry. You might wonder why manufacturers don’t just use simple spheres since they’re cheaper to make. Here’s the thing: spherical mirrors suffer from spherical aberration, scattering light instead of focusing it perfectly.
Parabolic advantages shine because they bring all parallel starlight to one exact focal point. Spherical limitations mean edge rays miss the mark, creating fuzzy images at high magnification. Obviously, you want crisp views, not blurry messes, especially with faster telescopes. This is why scientific applications prioritize the precise curvature of parabolic mirrors despite their construction complexity.
Spheres only work well if your aperture is tiny or your focal ratio is very slow. For serious observing, parabolas eliminate that on-axis blur completely. You get diffraction-limited performance without compromising image contrast. When comparing optics, telescope cost often reflects the manufacturing difficulty required to achieve this superior parabolic shape. Now you understand why shape matters more than you thought. Ready to see how different designs fold that light path? Before choosing equipment, remember that observing conditions like dark skies are just as critical as mirror quality for seeing those crisp details. Expert astronomers also recommend allowing your optics to reach thermal equilibrium with the night air to prevent internal air currents from degrading that hard-won image sharpness.
How Cassegrain Reflectors Fold the Light Path
Two mirrors work together to fold a long light path into a short tube. You might wonder how such a small scope delivers huge magnification. The primary mirror gathers light, sending it toward a convex secondary. This secondary bounces the beam back through a hole in the primary.
Now, you get a long focal length inside a physically short body. This clever trick creates a truly compact design for easy transport. You don’t sacrifice power just because the tube is short. Obviously, this folding boosts optical efficiency by maximizing space usage.
Here’s the thing: your eyepiece sits conveniently at the rear, not the side. You attach cameras or sensors easily without awkward balancing acts. The light travels forward, then backward, effectively doubling the distance within the housing. This smart geometry lets you handle big optics with little effort. Compared to other designs, this configuration offers a distinct advantage for planetary observation due to its high contrast and resolution capabilities. The specific curvature of these mirrors ensures that spherical aberration is minimized to maintain image sharpness across the field.
Ready to see why this setup eliminates color fringing entirely? By reflecting light off mirrors instead of passing it through glass, this design avoids the chromatic aberration often seen in refractor telescopes.
Why Reflectors Avoid Color Fringing Issues
If you’ve noticed those annoying purple halos around bright stars in other scopes, you’re spotting chromatic aberration. This happens because lenses bend blue light more than red, scattering colors before they reach your eye. You see blurry edges instead of crisp points of light on planets or the moon.
Now, reflectors dodge this bullet entirely by using mirrors instead of glass lenses. Mirrors reflect every color wavelength equally, so red, green, and blue light converge perfectly together. This optical simplicity means you don’t need expensive extra glass elements to fix color errors. Because Newtonian reflectors do not suffer from chromatic aberration due to the absence of lenses, they present the greatest aperture value for low cost.
You gain a massive chromatic advantage since your primary mirror never splits light apart. Obviously, this delivers sharper contrast and truer star shapes without those distracting colored fringes. Your views stay clean even on the brightest objects where refractors often struggle.
Just remember that cheap eyepieces can still introduce some color, but your main optics stay pure. Ready to learn how to keep those mirrors aligned for peak performance?
How to Collimate Your Reflector Telescope
You’re wondering how to keep those mirrors aligned for peak performance, and that’s exactly the right question to ask. Collimation aligns your secondary mirror, primary mirror, and focuser axis so light reaches the eyepiece with minimal distortion. You need specific collimation tools like a Cheshire eyepiece or laser collimator to check alignment accurately. Regular maintenance prevents optical misalignment from degrading image quality over time due to transport or temperature changes.
Start by making secondary adjustments until the primary mirror reflection appears centered within the secondary mirror. Tilt the secondary until the laser beam lands precisely on the primary mirror center spot. Next, tweak the primary mirror bolts at the telescope’s back in tiny increments. Aim to center the primary mirror mark within your tool’s reference pattern perfectly.
Finally, verify everything using a bright star slightly defocused to inspect diffraction rings. Good collimation produces a symmetrical, centered donut-like shadow pattern every single time. Now you’re ready for sharper views under the night sky. Proper alignment is critical because optical distortion increases significantly when light rays do not converge correctly at the focal point. Expert enthusiasts recommend performing this calibration routine whenever the telescope experiences significant temperature shifts to ensure optimal optical performance.
Cleaning and Storing Your Reflector Telescope
Three simple steps keep your mirrors sharp: blow, rinse, and store right. You probably worry about scratching coatings, but proper cleaning techniques prevent that disaster. First, blast loose dust with an air puffer before any water touches glass.
Now, soak the mirror in tepid water with mild detergent for five minutes. Gently drag lint-free tissue across the surface using only its own weight. Rinse with distilled water to stop mineral spots from ruining your view.
Here’s the thing: bad storage ruins good cleaning faster than you think. Follow these storage tips by keeping your scope indoors in a dry spot. Point the tube down so dust settles on the cap, not your mirror. Seal eyepieces in plastic cases away from garage moisture and curious pets. Always use lint-free tissue to avoid leaving fibers that can degrade image quality over time. Never attempt to clean the optics while they are still mounted in the telescope tube, as removing the primary mirror allows for safer and more thorough access without risking mechanical damage.
Your optics stay pristine when you respect their delicate surfaces every single time, ensuring the optical performance remains superior for years of stargazing. Ready to gaze at clearer stars tonight?