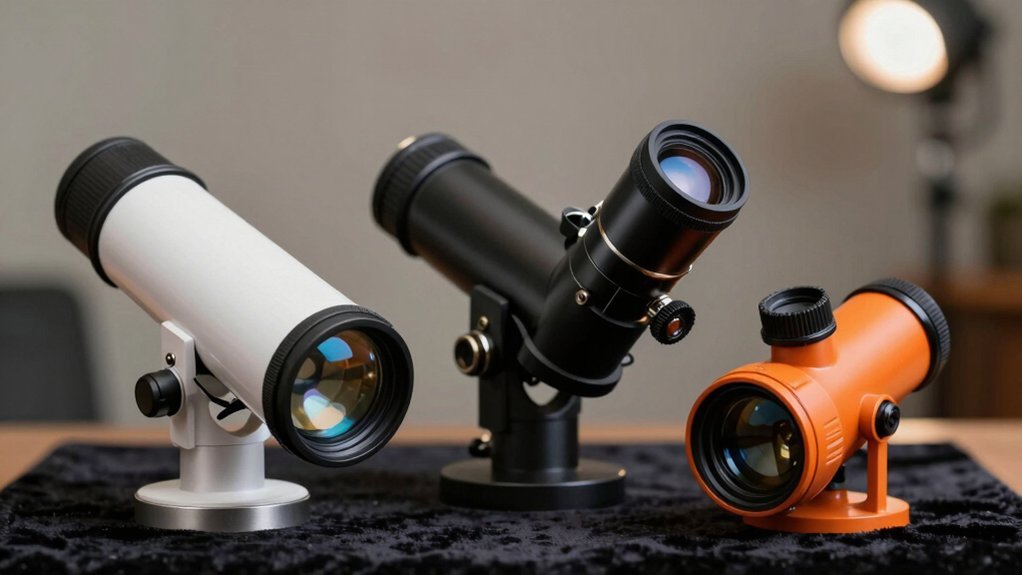
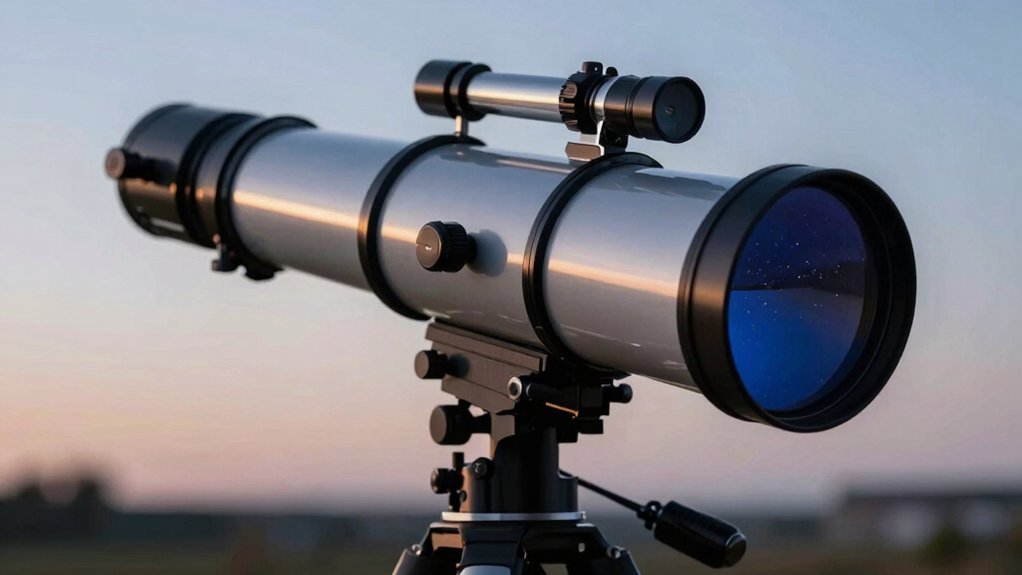
You’re stuck making that tube look like real glass, not a cardboard roll. Start by drawing two converging lines for perspective, then add a shallow oval lens up front. Now, shade one side dark to create instant 3D depth, just like light hitting a cylinder. Obviously, you need a sturdy tripod base so it doesn’t tip over. Keep colors matte black to avoid a toy-like shine. Follow these specific steps next to master professional textures.
Sketch the Basic Telescope Tube Shape
Two simple lines are all you need to start your telescope tube, even if you’re unsure where to begin. You probably wonder how to capture that sleek, cylindrical look without getting lost in complex geometry. Just draw two parallel lines slightly converging to create perspective, keeping them slender and elongated like a real scope.
Now, shape the front opening with a curved oval edge to show depth and thickness immediately. This step defines vital telescope anatomy before you add any internal glass or rear eyepiece details later on. Keep your lines light so you can easily correct mistakes while mastering these essential drawing techniques. Choosing a design with superior optical performance ensures your sketch reflects the true capabilities of high-quality instruments.
All right, close the rear end with a matching curve to anchor the structure firmly on your page. Erase any messy construction lines now to reveal a clean, mechanical silhouette ready for future refinement. You’ve got a solid base; next, you’ll decide exactly where to place those optical components. Different telescope designs offer varying light gathering abilities that influence how you might illustrate the aperture size relative to the tube length. Start by drawing a diagonal line aiming up to the left to establish the tube orientation. Remember that maintaining precise optical alignment in your drawing helps visualize how light travels through the instrument to the eyepiece.
Add Lens Glass and Rear Eyepiece Details
You’re probably wondering how to make that empty tube actually look like it has glass inside. Draw a shallow oval at the front to represent your convex objective lens. Add a thin inner outline showing thickness, then place a small white highlight for realistic lens reflections. This drawing technique mimics the real Apochromatic double-separation optical structure found in high-quality instruments like the CAUME 80mm model.
Now, focus on the rear section where you will add essential eyepiece details. Sketch a smaller cylinder protruding from the back, ensuring it aligns perfectly with your front lens. Use darker shading around this barrel to distinguish the metal housing from the glass opening. Understanding how light gathering works helps explain why the front lens must be significantly larger than the rear eyepiece in your illustration. Properly illustrating the focal length distance between these two points is crucial for depicting how the telescope magnifies distant objects accurately. Selecting the right magnification power ensures your drawing reflects how different eyepieces alter the final view.
Obviously, the eyepiece must stay narrower than the objective to match standard optical layouts. Include a tiny inner circle and a subtle highlight to suggest depth and curvature effectively. Keep everything centered so your optical path appears straight and functional throughout the drawing.
Your telescope now looks ready to gather light rather than just sitting empty. Next, you need something sturdy to hold this precise instrument steady.
Build the Mount and Extend Tripod Legs
Maybe you’re staring at that floating tube wondering how it stays put without tipping over. You need a solid base to hold everything steady. Draw straight, rectangular forms for your rocker box using simple mount materials like wood. Show panel thickness with parallel lines so your sketch looks rigid and real.
Now, extend those tripod legs outward to create a wide footprint. Equal leg extension keeps your drawing visually balanced and prevents tipping. This wide stance guarantees maximum support stability for the heavy tube above. Sketch three evenly spaced contact points with clean, straight edges.
All right, add circular bearings where the tube meets the box sides. These pivots allow smooth up-down and left-right movement in your design. Remember, the baseboard must look larger than the tube to show proper load support. Your mount is now ready to hold the optical assembly firmly. Next, you’ll add shadows to make it pop. A stable foundation ensures the optical alignment remains precise during observation by minimizing vibrations that could blur the view.
Shade the Structure for 3D Dimension
Grab your pencil and pick one light direction to stop that flat look. You’re probably wondering how to make that tube look round instead of flat. Obviously, consistent lighting creates believable depth across the whole structure.
Now, treat the telescope as separate planes to build real volume. Use value gradation from dark to light so the cylindrical form pops. Place your highlight placement on the side nearest your chosen light source.
Here’s the thing: harsh lines ruin the curve, so focus on shadow softness. Apply blending techniques with a smudge tool to merge those tonal areas smoothly. Darker values turn away while lighter ones face forward directly. Keep edges soft where shadows diffuse away from the contact point. This smooth shift tricks the eye into seeing a rounded, 3D object. You can blend shades gently using a blending stick or finger to ensure the transition between light and dark areas remains seamless. Just as clear optics require precise alignment, maintaining consistent shading ensures your drawing accurately reflects the telescope’s structural integrity. Much like selecting the right aperture for viewing faint stars, understanding light gathering helps you determine where the deepest shadows should fall on the tube. Mastering these foundational shading principles allows beginners to achieve success by creating convincing depth on the first attempt. You’ve got the dimension down, so ready to add realistic textures next?
Color the Telescope With Realistic Textures
Now that your shading works, you’re probably wondering how to pick colors that don’t look like a toy. Start with a matte black base coat for painted metal or dark gray for anodized aluminum. You must keep saturation low because real instruments rarely use vivid, decorative hues.
How do you mimic real metal? Layer light and dark values using fine directional strokes to suggest brushed grain. Place sharp specular highlights on tubes and screws to define those essential surface materials effectively. Break up flat areas with subtle tonal variation so nothing looks like cheap plastic.
What about the glass? Color lenses with deep blues or teals, leaving tiny white spots for reflection. Apply cool shadows under brackets while adding reflected edge light to master complex lighting effects. Finally, add tiny scuffs near focus knobs to imply genuine use without over-aging the piece. Your telescope now looks functional. Ready to sign your artwork? Just as scientists assign specific wavelengths to colors to reveal hidden astronomical details, your chosen hues should reflect the actual materials and lighting conditions of the instrument rather than arbitrary decoration. Understanding these optical properties ensures your illustration captures the true essence of professional-grade equipment used by enthusiasts. Effective coloring also depends on knowing how light gathering capabilities influence the perceived brightness and contrast of the instrument’s components in your drawing. To achieve this level of realism, observe how ambient light affects the visibility of faint details on the telescope’s exterior before finalizing your color choices.