You’re wondering how a pocket-sized analog computer maps the stars without batteries? It’s a planisphere, and you simply align the date ring with the time mask to see tonight’s sky. Obviously, your latitude dictates which stars stay visible all night, so pick one matching your location. Now, hold it overhead to match constellations like Orion against the real horizon. Stick around to learn why ancient Greeks invented this clever tool and how you can avoid common setup mistakes.
What Is a Planisphere and How Does It Work?
A planisphere is your pocket-sized window to the stars. You probably wonder how this simple disk actually mimics the moving sky. It works using two rotating parts that you align to your specific date and time.
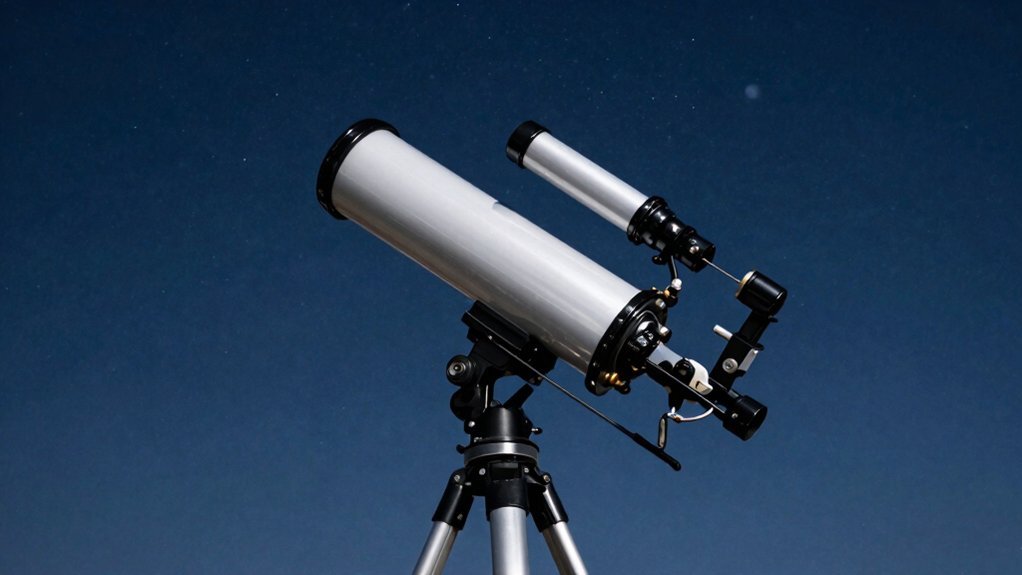
Now, the top mask hides everything except the stars currently above your horizon. You spin the disks to see exactly what shines overhead right now. This analog computer instantly visualizes the night without needing batteries or complex apps. Unlike a telescope which gathers light through an optical aperture, a planisphere relies on a printed map to show star positions relative to your location.
Here’s the thing: mastering basic star charting techniques becomes effortless with this tool in hand. You also pick up essential celestial navigation tips just by tracking constellations through the window. The device translates complex astronomical motion into a clear, immediate snapshot for your eyes. To get the most out of your viewing session, ensure you allow your eyes to adjust during dark adaptation so you can perceive fainter celestial objects more clearly.
Obviously, understanding this mechanism reveals the entire night sky for your personal exploration. Grab one tonight and start matching those bright dots to their names immediately. To get the best view, you should find a location with minimal light pollution so the fainter stars become visible through your planisphere.
Why Your Latitude Determines Star Visibility
Since you’re wondering why your location changes the stars you see, it all comes down to your latitude. Your position sets the celestial pole’s height directly above your horizon. At 40° North, that pole sits exactly 40° up. This geometry shifts your entire visible sky remarkably as you move.
Now, consider how latitude influence creates specific zones for circumpolar stars. These stars never dip below your horizon because they circle too close to the pole. At 50° North, any star within 50° of the pole stays visible all night, every night. Conversely, stars too far south never rise for you at all. As you travel north or south, seasonal objects convert into circumpolar or antipolar classifications based on your changing perspective. Just as revolutionary telescope milestones unveiled hidden cosmic layers, understanding these boundaries reveals the full scope of our celestial mechanics.
Obviously, moving toward the poles expands this permanent viewing zone greatly. Equatorial observers see almost no circumpolar stars since their poles hug the horizon. Your specific latitude ultimately decides which constellations remain forever hidden or permanently shining. Check your local coordinates next to understand your unique sky limits.
How to Set Date and Time Accurately
You’ve got your latitude sorted, but now you’re staring at those dials wondering how to make them show tonight’s sky. Don’t worry, you asked the right question because getting this step wrong ruins the whole view.
Rotate the outer date ring until your specific day meets the observation time on the inner mask. For July 15 at 9:00 p.m., simply line up those exact marks carefully. These basic alignment techniques guarantee the window reveals stars currently above your horizon.
Here’s the thing: most charts use standard time, not daylight saving time. If clocks jumped forward an hour, you must subtract sixty minutes before setting your dial. Ignoring these vital time adjustments shifts every star position incorrectly. Understanding standard time zones is crucial because failing to convert local daylight time will result in viewing a sky that has already rotated past your current moment. Expert stargazers recommend checking your planisphere against a digital star map to verify complex seasonal transitions before relying solely on manual dials. To maximize visibility during these sessions, experts suggest allowing your eyes to undergo dark adaptation for at least twenty minutes before consulting the chart in low light.
Obviously, small errors matter since the sky moves constantly. Double-check your math against a reliable clock before heading outside into the dark. To ensure the display matches reality, you must align outer dial with months and days to the inner dial with time.
Now that your chart matches reality, are you ready to find those familiar patterns?
Identify Constellations With Your Star Chart
Two simple steps turn that spinning disk into a real-time map of tonight’s sky. First, align your date and time. Next, hold it overhead facing north. You’ve got the basics down, but now comes the fun part.
Hold the chart above your head, matching the direction markers to your actual horizon. The window reveals exactly which constellations sit above you right now. Start with bright anchors like Orion or the Big Dipper. These familiar shapes make star identification much easier for beginners.
Use these known patterns for effective constellation navigation across the dark expanse. Trace lines from bright stars to dimmer ones, building a chain of connections. Keep a red light handy to preserve your night vision while checking the map. Dark skies help you trace those outlines clearly without squinting. Remember that the planisphere may distort the shapes of constellations, so rely on the bright anchor stars you have already identified to verify the actual patterns in the sky. Finding a location with minimal light pollution will significantly improve your ability to see fainter stars and detailed constellation outlines. Understanding how light pollution washes out fainter stars is crucial for planning successful observation sessions. Allowing your eyes about 20 minutes to fully adjust to the darkness will further enhance your ability to detect these subtle celestial details.
You’ll soon recognize seasonal visitors effortlessly. Ready to see how these patterns shift throughout the year?
Track Seasonal Sky Changes Easily
Just align the outer date ring with your inner time disk to see tonight’s view. This simple rotation reveals exactly which constellations sit above your horizon right now. You can compare winter settings against summer ones to spot annual patterns easily.
Obviously, matching your specific latitude guarantees the horizon line stays accurate for your location. Holding the chart overhead lets you match real stars to the map immediately. Now you understand how the sky rotates through the year using just one tool. Try setting it for next month to predict upcoming celestial visitors today. For the best viewing experience, ensure your eyes are fully dark adapted before comparing the planisphere to the night sky. This method of visualizing celestial mechanics echoes the precision achieved by the groundbreaking telescope that revolutionized our understanding of the cosmos. Remember that light pollution from cities can significantly dim the stars visible on your planisphere map.
Who Invented the Modern Planisphere?
Names like Hipparchus, Hypatia, and Vitruvius often pop up when you ask who invented this tool. You might feel confused by these conflicting claims about notable inventors. Honestly, no single person holds the sole credit for this amazing device.
Ancient Greeks developed the projection principles around 200 BC. Ptolemy later refined the math in the second century. This early work holds immense historical significance for modern astronomy. However, the rotating disk format you know today arrived much later.
Jacob Bartsch created an early chart in 1624. Amos Pettengill then built the Stellarota with time scales in 1828. These men transformed complex math into a portable observing tool. You now see how evolution shaped this instrument over centuries.
Don’t hunt for one specific genius behind the whole story. Instead, appreciate the long chain of innovation that helps you stargaze. The historical context of such astronomical tools reveals a gradual refinement rather than a single moment of discovery. This progression mirrors the revolutionary telescope milestones that similarly reshaped our understanding of the cosmos through cumulative effort, much like the telescope revolution that unveiled new cosmic truths. Next, let’s make sure you actually use your new tool correctly.
Avoid These Common Setup Mistakes
You’ve got the history down, but now you’re probably staring at your new planisphere wondering why the stars don’t match up. Let’s fix that quickly so you can start exploring tonight.
First, master your date alignment by rotating the wheel carefully. Remember to subtract an hour for daylight saving time or your map lies.
Next, check your compass orientation before lifting the device overhead. Face north and hold the word “north” at the bottom edge strictly.
Don’t ignore latitude fit either, since wrong bands distort horizon lines. Your local stars won’t appear correctly if the geometry clashes with your location. The kit is specifically designed for 40 degrees latitude, making it ideal for observers in the Midwest.
Adjust your viewing angle by holding the chart up, not flat like a book. Finally, pick a bright sky reference like Polaris to verify everything matches perfectly, ensuring you account for seasonal star shifts as the Earth orbits the Sun.
Understanding how atmospheric refraction bends starlight near the horizon will further refine your ability to match the chart to the actual sky.
To get the best view, find a spot away from city lights where light pollution won’t wash out the fainter stars on your map.
Now you’re ready to trust your tool and enjoy the real night sky above.
When to Upgrade From a Basic Planisphere
So, when exactly does your trusty basic planisphere stop cutting it? You might notice stars vanishing near the horizon if you travel more than 10° from your chart’s specific latitude. Obviously, that mismatch ruins your view when relocating to new regions.
Here’s the thing: casual stargazing works fine, but precise star-hopping demands better tools. You need clearer markings and exact time settings for repeated, ambitious observing sessions. Basic models often confuse daylight saving adjustments, wasting your precious dark-sky window.
Now, consider these upgrade reasons. Complex horizons blocked by trees or buildings require charts with detailed context that simple disks lack. Advanced features like durable materials and intuitive dials solve these friction points effectively. To truly enhance your viewing experience, you should prioritize optical clarity when selecting a planisphere that supports detailed observation of faint celestial objects.
You outgrow basic gear when targeting deep-sky objects becomes your regular routine. Don’t let a cheap chart limit your growing skills any longer. Ready to pick a model matching your specific latitude and goals?