You’re staring at a fuzzy moon because your tripod isn’t level or your finder scope is misaligned. Start on solid ground, lock those legs tight, and use a 20mm eyepiece for a wide view. Align your finder scope in daylight on a distant chimney before nightfall. Now you can track Jupiter smoothly with slow-motion controls while adjusting focus for crisp craters. Keep going to master collimation and capture sharp celestial photos tonight.
Set Up Your Telescope on Stable, Level Ground
If you’re wondering why your images shake, it’s likely because you skipped picking solid ground. You need firm earth, not soft grass that sinks under weight. Bad site selection ruins your whole night before you even start looking up.
Now, extend those legs fully and lock every single clamp tight immediately. Tripod leveling matters hugely here, so use a bubble level on the tray. Adjust each leg slowly until that bubble sits perfectly in the center circle. Obviously, tightening knobs can shift things, so check your balance one last time.
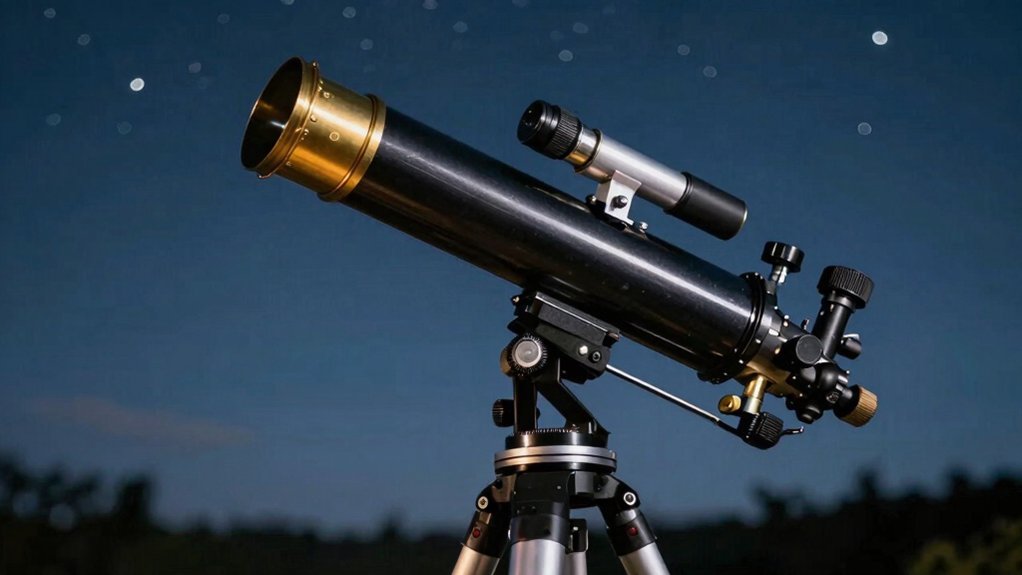
Ensure you have wide-open sky views without trees blocking your rotation space. A flat spot reduces major corrections later while you try to find distant stars. Keep heavy accessories off until you confirm the base stands completely rigid alone. Your setup needs rock-solid stability to track faint objects without annoying vibrations ruining views. Since this telescope uses a Newtonian design, it is specifically intended for astronomy rather than land viewing. Understanding optical alignment is crucial because even a sturdy mount cannot compensate for misaligned mirrors that degrade image quality. Choosing a location away from city lights will significantly improve your ability to see faint objects in the night sky. Properly managing thermal equilibrium ensures the internal air temperature matches the outside environment, preventing heat waves from distorting your view. Ready to attach the mount and start aligning your optics now?
Insert Low-Power Eyepieces for Initial Viewing
Grab that 20mm or 26mm eyepiece right now. You’re probably wondering where to start, and this is it. Proper eyepiece selection gives you a wide field of view immediately. This makes finding your first target much easier than guessing in the dark.
Slide the eyepiece into your diagonal or focuser barrel gently but firmly. Tighten the thumbscrew just enough to stop any wobble without crushing the tube. Secure seating maintains critical optical alignment while you scan the sky.
Aim at a distant tree or chimney to center your view. You’ll see how much more sky fits in this low-power lens. Refocus slowly until the image snaps into crisp, clear detail.
Start wide, then zoom in later for those tight, detailed shots. Ready to make sure your finder scope matches this view perfectly? Expert guidance confirms that wide field of view is essential for locating celestial objects before switching to higher magnification. Understanding the relationship between focal length and magnification ensures you maximize the potential of your initial low-power setup. National Geographic telescopes often feature premium optics designed to minimize color fringing and maximize light transmission for sharper views.
Align Finder Scopes During Daylight Hours
You’re probably wondering why we aren’t pointing at stars just yet. Daylight offers stable, clear targets like distant chimneys or signs over 100 yards away. These fixed objects make alignment far easier than chasing drifting night sky stars. Selecting a stationary target at least a quarter mile away ensures the accuracy needed for effective observation.
Now, center your chosen target in the main telescope using the lowest-power eyepiece first. Lock the mount tight so the tube stays fixed while you work on the finder. Just as building a web page requires a solid foundation, establishing this stable base prevents vibrations from ruining your alignment efforts.
Look through the finder scope and use the small screws for precise finder adjustments. Move the crosshairs or red dot until they sit exactly on that same distant object. Small turns prevent overshooting and guarantee better target precision for your future viewing sessions.
Double-check the main eyepiece to confirm the target hasn’t shifted during your tweaking. Repeat this process if needed until both views match perfectly without major corrections. Your finder now points exactly where your telescope looks, saving you time later, which is essential since atmospheric conditions significantly impact what you can realistically see once night falls. Properly aligned optics ensure maximum light gathering capability, allowing you to detect fainter celestial details when darkness arrives. Ready to try tracking moving objects with those slow controls?
Center and Track Targets With Slow Controls
Since you’ve already locked those mount knobs, you might worry about nudging your target right out of view. Don’t panic. You actually use slow-motion controls for fine centering after tightening your R.A. and Dec. locks. These knobs handle tiny adjustments, keeping your object perfectly framed without shifting the whole tube. Just as a well-structured HTML document provides a stable foundation for a web page, these mechanical controls provide the stability needed for precise observation. Understanding the difference between alt-azimuth mounts and equatorial setups ensures you apply the correct tracking method for your specific telescope model.
Now, let’s talk specific slow control techniques. Rotate those flexible shafts gently to counteract Earth’s rotation as your target drifts. Obviously, manual tracking needs periodic tweaks to keep everything sharp. Your earlier target acquisition methods matter here too. Start with a low-power eyepiece to find bright objects like the Moon easily. Center them fully before locking down. While making these precise movements, remember that large movements are made by pushing the tube directly rather than using the slow-motion controls. For beginners struggling with stability, selecting a telescope with a sturdy tripod can significantly reduce vibration during these delicate adjustments.
Focus Images and Optimize Night Sky Conditions
Although your target is centered, you’re probably wondering why those stars still look like fuzzy blobs instead of sharp points. You need better focus techniques to fix this blur immediately. Start by finding a bright reference object like Jupiter or the Moon.
Now, switch to manual focus and zoom your live view to 10x magnification. Rock the focuser back and forth gently until that star shrinks into a tiny, concentrated pinpoint. This iterative method beats guessing large adjustments every single time.
All right, let’s talk about optimizing night conditions for your session. Dark skies help immensely, but temperature changes will shift your focus later. You must refocus periodically as the night air cools down around your gear. Stable tracking also prevents vibration from ruining your sharp image assessment. You should allow 15 minutes of shooting before refocusing to ensure the focus has not shifted from good to bad. Understanding how thermal equilibrium affects your optics ensures consistent clarity throughout your observation session. Different telescope designs offer varying levels of optical performance which can influence how quickly your system stabilizes in changing temperatures. Proper collimation alignment is also essential to ensure light rays converge correctly at the focal point for maximum sharpness.
Mastering these steps transforms fuzzy lights into crisp celestial wonders. Ready to capture your first clear photo of the cosmos tonight?