You’re wondering whether to grab a compact spyglass or haul out a telescope, and honestly, it depends on your target. Spyglasses offer instant 20x views for hiking, while telescopes need tripods but deliver 200x power for planets. Obviously, portability wins on trails, yet aperture size dictates deep-space clarity. Now you see why choosing the right tool matters before you even step outside. Let’s break down exactly which gear fits your specific adventure.
What Is the Real Difference Between a Spyglass and Telescope?
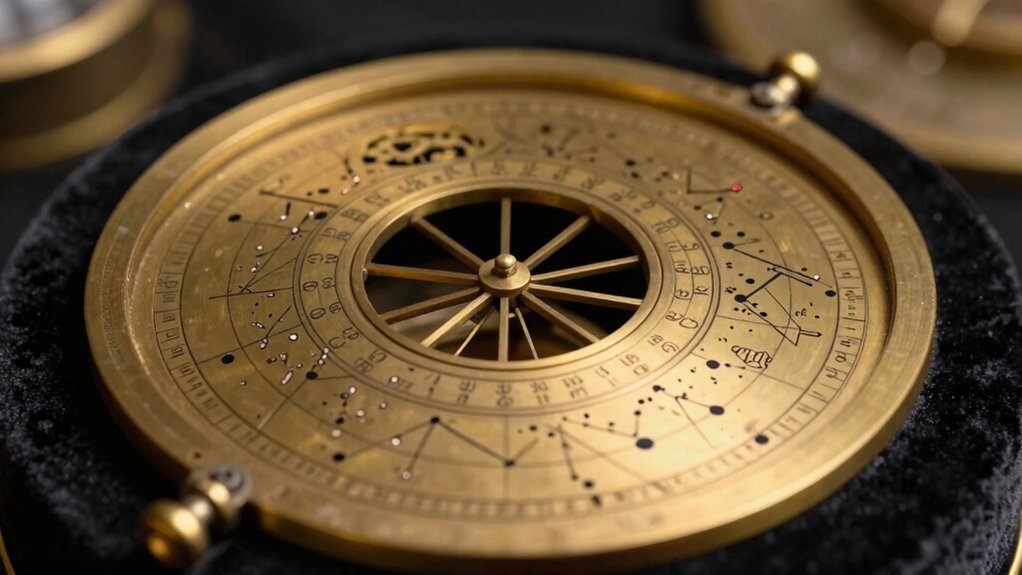
Ever wonder why people swap “spyglass” and “telescope” like they’re the same thing? You aren’t alone, since a spyglass is just a small, handheld telescope subset. Historically, you used these for navigation, while telescopes target distant stars with higher power.
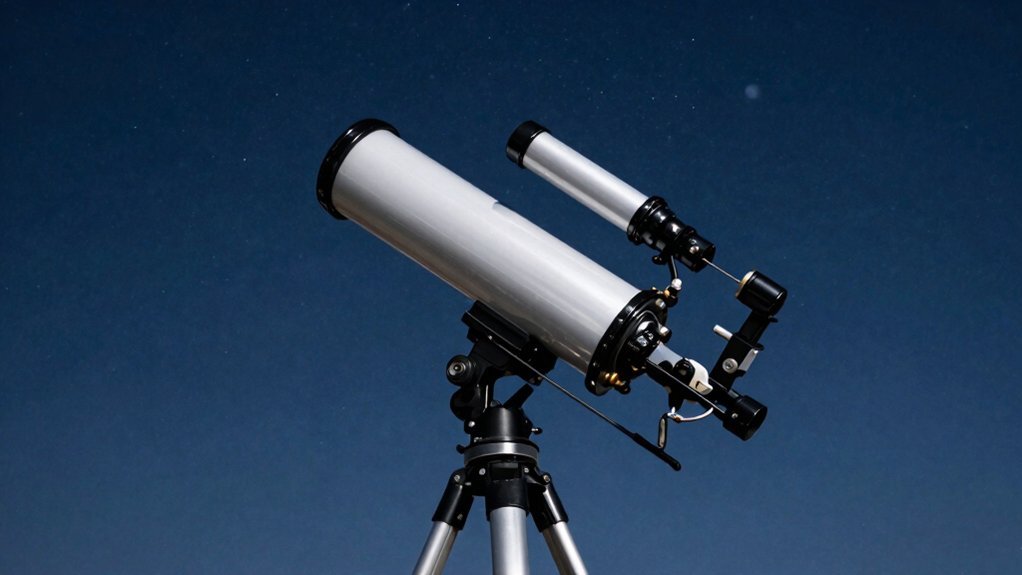
Here’s the thing: real differences lie in specific design tradeoffs and unique optical arrangements. Spyglasses often use Galilean refractors to keep land views upright at 20x magnification. Telescopes sacrifice portability for massive 90x zoom, needing tripods to track deep-space objects clearly. Modern instruments frequently employ reflecting optics to gather more light without the color distortion found in simple lenses. A key advantage of this design is the ability to build larger aperture sizes that capture significantly fainter celestial details than handheld units ever could.
Obviously, size matters too, as you carry spyglasses easily but mount bulky telescopes. You choose based on whether you watch birds or map craters on Mars. Understanding these distinct purposes clears up your confusion about which tool fits your hobby. Now you see why context defines the name more than the glass itself. To ensure you get it right the first time, focus on mastering practical step-by-step walkthroughs that clarify these essential distinctions before making a purchase.
Should You Choose a Spyglass or Telescope for Your Needs?
So, how do you actually pick between these two tools without guessing? You must match the instrument to your specific environment. If you chase stars, a telescope wins hands down.
Consider spyglass advantages like portability and quick setup for hiking. You hold it instantly without bulky tripods blocking your path. Conversely, telescope drawbacks include heavy weight and complex assembly times. You cannot easily carry a large scope up a mountain trail.
Choose the spyglass for terrestrial targets like boats or birds. Its lower magnification keeps images steady while you move around. Pick the telescope only when you need serious light-gathering power. Obviously, faint galaxies demand that extra optical muscle you need. Modern designs often utilize coated optics to maximize light transmission and improve image contrast across both instrument types.
Your decision hinges entirely on whether you watch land or sky. Don’t buy gear that sits unused because it’s too heavy. Now, ask yourself exactly where you plan to observe most often. Remember that successful stargazing also depends on finding locations with minimal light pollution to ensure the best possible view of celestial objects. Understanding the optical aperture size is crucial since it determines how much light the instrument can collect for clearer images.
How Do Magnification Levels Compare for Land and Sky?
Although magnification numbers look identical on paper, they behave completely differently depending on whether you scan land or sky. You might think higher power always wins, but that’s not true for daytime targets.
For land viewing, you actually want lower power, typically between 20× and 60×. Higher magnification just makes your image dimmer and shakier without adding real detail. You need brightness and a steady field to track moving subjects effectively.
Sky observing flips this script entirely since you often need much higher power. A good rule is 50× per inch of aperture, letting a 4-inch scope hit 200×. This extra zoom reveals tiny details on planets that lower powers simply miss. Different optical designs like reflectors and refractors handle these high powers with varying degrees of clarity and color correction.
This magnification comparison shows context matters more than raw numbers on the box. Obviously, your target dictates the perfect power setting every single time. Understanding how optics and performance interact ensures you select the right tool for your specific stargazing or terrestrial needs. Crucially, the aperture size determines the maximum useful magnification before the image becomes too dim to see clearly. Now, consider how portability changes your choice for outdoor adventures.
Why Spyglasses Win for Hiking, Boating, and Wildlife
You’re wondering why you’d ever leave a powerful telescope at home when the trail calls. Obviously, dragging a tripod up a mountain ruins the fun. Spyglasses fit in your pack and work one-handed while you hike.
Now, consider your need for field versatility. Telescopes demand setup time you don’t have on moving boats. Spyglasses let you spot distant ships instantly. Their compact size beats bulky astronomy gear every time on deck.
Here’s the thing about wildlife observation. Birds won’t wait for you to align optics. You need quick, direct viewing for animals. Spyglasses offer perfect magnification for land targets without the fuss.
Telescopes excel in space, not forests. Choose portability for your next adventure. Leave the heavy gear behind today. Expert stargazers know that clear atmospheric conditions are essential for high-magnification viewing, a requirement rarely met in dynamic outdoor environments like hiking trails or boat decks. Unlike telescopes designed for fixed optical alignment, spyglasses maintain stability even when handheld in rough terrain. Successful observation often depends on finding locations with minimal light pollution to ensure the best possible view of your surroundings.
When Telescopes Are Essential for Planets and Deep Space
While spyglasses rule the trail, you need a telescope’s raw power to see planetary details clearly. You’ll quickly find that aperture importance drives resolution, with four inches being your practical minimum. Optical quality and stable tracking keep those high-magnification limits sharp, preventing blurry views of Jupiter’s bands.
Now, deep space demands light gathering over extreme power, so larger apertures reveal faint galaxies better. Different telescope types suit these goals; refractors offer contrast enhancement for planets, while reflectors grab more sky. Obviously, pushing past 200x often softens images unless the air stays perfectly steady. For the best results, you should prioritize optical coatings to maximize light transmission and image brightness across all wavelengths.
You must match your gear to your target, balancing focal length against atmospheric reality. A solid mount guarantees you don’t lose those fleeting moments of crisp detail during planetary observing. Understanding optical resolution limits helps you select a scope that maximizes clarity without exceeding what the atmosphere can support. Since atmospheric turbulence often restricts useful magnification, mastering seeing conditions is vital for timing your observations when the air is most stable. Ready to decide which optical path fits your night sky ambitions?
Which Instrument Offers Better Portability and Handheld Use?
You just saw how telescopes dominate deep space, but lugging one around kills your mobility. Now, consider your actual movement needs. Spyglasses fit comfortably in one hand, offering true handheld convenience for quick glances. Telescopes demand tripods, making spontaneous viewing impossible.
Travel suitability clearly favors the compact spyglass. You slip it into a backpack easily, unlike bulky telescope tubes. Hiking or boating becomes lighter with this small refractor. Obviously, you sacrifice some magnification power for this portability.
Choose the spyglass if you prioritize moving freely. It delivers instant readiness without complex assembly. Your outdoor adventures need gear that keeps up, not slows you down. While telescopes excel at gathering light for faint celestial objects, their size fundamentally limits on-the-go observation compared to handheld optics. This trade-off exists because optical aperture directly dictates the physical dimensions required to collect sufficient light for clear viewing.
How Does Setup Time Differ Between Models?
Since you’re wondering how long each tool takes to ready, let’s cut through the noise. Telescopes demand serious time for assembly, mounting, and precise alignment before you see anything. You often need tripods, clock drives, and specific eyepiece swaps to get started properly. Spyglasses offer incredible setup efficiency because you simply grab them and start looking immediately. No mounts or complex configurations slow down your quick outdoor scanning sessions. Obviously, handheld use beats tedious balancing every single time for fast observational readiness. You trade higher magnification for speed when choosing the simpler spyglass option today. Telescopes require practice sessions just to master basic focusing and tracking controls fully. Don’t underestimate the minutes lost fiddling with slow-motion knobs in the dark. Choose spyglasses for instant action or telescopes for dedicated, planned stargazing nights ahead. Which speed matches your actual observing habits best right now? Motorized systems further extend this delay by requiring inputs like time, date, and location to complete a nightly alignment. Understanding optical aperture helps explain why larger telescope tubes need more robust mounting structures that inherently increase your total setup duration compared to compact handheld units. The stability provided by mount rigidity ensures that heavier optical tubes remain steady during long exposures, though this added sturdiness inevitably contributes to longer assembly times. Furthermore, the physical bulk of large instruments often necessitates breaking them down into separate components for transport, which adds another layer of complexity to your initial telescope assembly process before observation can even begin.
What Role Does Aperture Play in Image Clarity?
How exactly does that lens opening change what you see? You control light volume directly with this setting. A wider aperture admits more light, brightening your image instantly. Conversely, a narrow opening keeps things darker but sharper overall. These aperture effects dictate how much of your scene stays in focus.
Here’s the thing: clarity considerations go beyond simple brightness levels. Very wide openings blur backgrounds heavily, isolating your specific subject effectively. However, stopping down two stops often hits that optical sweet spot. You might try f/5.6 on an f/2.8 lens for maximum sharpness. Pushing too small introduces diffraction, actually softening your final picture again.
Obviously, balance remains key for viewing distant coastal details clearly. Don’t just pick the widest or narrowest setting automatically. Find that middle ground where your lens performs its absolute best. Now, which specific model handles these settings perfectly for your hikes?
Best Spyglass Recommendations for Coastal and Trail Use
Several specific models actually handle coastal spray and trail bumps without failing you. You need waterproofing and multi-coated optics as your primary coastal essentials against salt air. The Celestron Nature DX 8×42 offers a budget-friendly start for beach wildlife watching. Obviously, larger lenses like the 56mm on the Hawke Nature-Trek gather more dawn light.
Now, consider trail features when hiking long distances with heavy gear. Compact binoculars stay light and quick to deploy on uneven paths. You value simple operation over maximum magnification when wind shakes your hands. The Vortex Diamondback delivers solid performance under $500 for marine environments. Premium options like the Swarovski ATC provide incredible clarity if budget allows.
Choose binoculars first for speed and portability during casual outings. Select spotting scopes only when distant detail truly matters most. What distance do you usually need to see clearly today?
Top Telescope Picks for Moon and Star Gazing
Two distinct goals actually drive your telescope search: crisp lunar craters or wide star fields. You need specific telescope features to maximize lunar detail, like the Celestron NexStar 8SE‘s long focal length. Larger apertures gather more light, sharpening those jagged mountain shadows you crave. For instance, the Zhumell Z8 provides excellent value in terms of power with its 203 mm aperture, capable of detailed observation up to 350x magnification.
Now, star visibility demands different tools entirely. Wide-field Dobsonians like the Apertura AD8 reveal faint clusters better than high-magnification scopes do. Smart options such as the ZWO SeeStar automate tracking, helping you locate distant galaxies instantly.
All right, let’s talk novice options. The Sky-Watcher Explorer 130M offers incredible value without overwhelming complexity. You don’t need expensive gear to start; even budget models under $500 work well if stable. Obviously, matching your scope to your target matters most for clear views tonight.
Which celestial object excites you enough to set up outside right now?