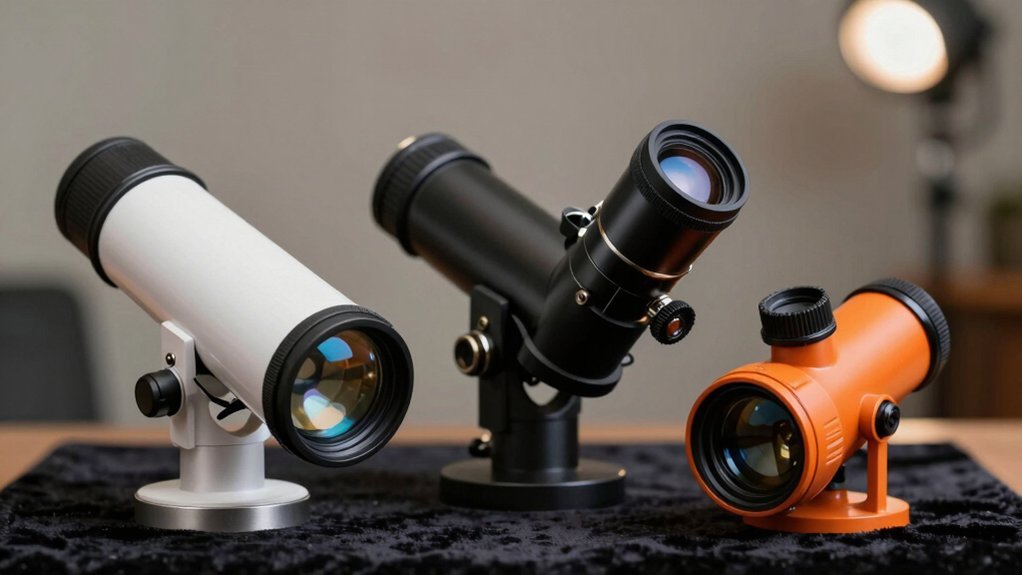
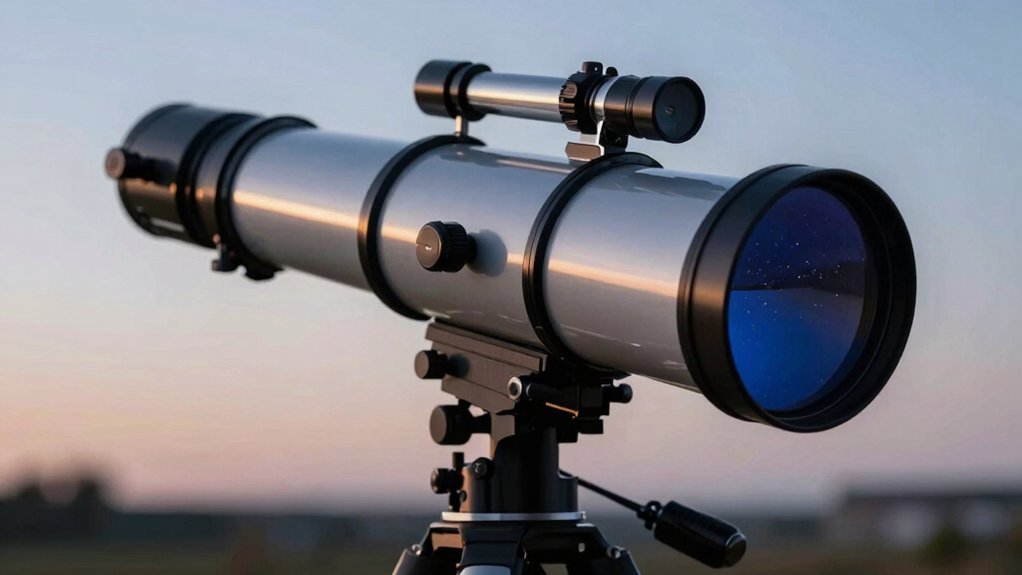
You’re likely staring at your Dobsonian, wondering if a Barlow lens or an extension tube will actually get those crisp planetary details you need. Here’s the thing: a Barlow optically doubles magnification, while an extension tube simply moves your camera back to fix focus reach. Obviously, mixing them up ruins your image scale or leaves you unable to focus at infinity. You need the Barlow for detail and the tube only if your focuser runs out of travel. Keep going to see exactly how to calculate your perfect setup without guessing.
Dobsonian Barlow vs Extension Tube: What Is the Real Difference?
Why do so many Dobsonian owners mix up Barlow lenses and extension tubes? You confuse optical power with mechanical spacing constantly. A Barlow diverges light to boost focal length, while an extension tube simply moves your eyepiece back. Understanding Barlow advantages means seeing real magnification, not just extra distance. Extension tube applications strictly manage focus travel when accessories shift the focal plane outward.
Now, consider Magnification nuances carefully. Moving your eyepiece away from a non-telecentric Barlow increases effective power beyond its nominal rating. Focus adjustment techniques require keeping your configuration intact while testing reach. Obviously, adding space changes geometry remarkably. Image brightness effects occur because higher magnification narrows the exit pupil and dims the view. Extension tubes alone never alter scale or brightness unless they modify Barlow spacing. While extension tubes provide mechanical spacing, true magnification gains rely on the negative lens element found in Barlow lenses and focal extenders to optically increase the telescope’s focal length. Enthusiasts should prioritize optical clarity when selecting glass to ensure sharp views at high powers. Successful DIY projects depend on following a clear step-by-step build to avoid assembly errors that compromise optical alignment. Properly calculating the effective focal length ensures you achieve the desired magnification without exceeding the telescope’s useful limits.
You need enough focuser travel to reach focus without losing image quality. Don’t let mechanical spacers fool you into thinking you gained optical power. Check your focuser limits next before buying more glass.
How a Barlow Lens Boosts Focal Length for Planets
You’ve sorted out your spacers, but now you need real magnification for those tiny planets. A Barlow lens uses specific optical principles to diverge light, pushing your focus point farther back. This trick creates a longer effective focal length without physically extending your telescope tube.
Now, consider how this helps planetary imaging. You get immediate image scaling, making small targets like Jupiter fill more sensor pixels. A standard 2x unit doubles your scale, while stronger options reach 5x. These lens advantages let you capture fine details that native focal lengths often miss. The placement of the Barlow lens affects focal length and magnification—the closer the placement, the greater the effective focal length.
Here’s the thing: higher magnification dims your image and shrinks the field of view. You must match power to your aperture to avoid blurry, useless results. Obviously, pushing beyond limits ruins clarity. Use this tool wisely for sharp, scaled-up views. Before handling any optics to improve your view, remember that cleaning telescope optics requires gentle methods to prevent permanent scratches. Next, ask yourself if you actually need focus reach instead. Successful imaging also relies on stable atmospheric conditions to ensure the increased magnification reveals detail rather than turbulence. Always ensure your lenses are free of dust particles before attaching additional optics, as debris can scatter light and reduce contrast in your final images.
Why Extension Tubes Fix Focus Reach But Not Scale
So, how do you fix focus when your sensor sits too far forward? You slide extension tubes between your camera and telescope. These spacers push the sensor back, letting you reach that critical focus distance easily.
Now, understand the optical mechanics here. Tubes contain no glass, so they never increase your focal length. They simply shift where the image forms. You get focus reach, not extra magnification power. Your subject looks bigger only because you focus closer, not because the optics changed. Obviously, a Barlow lens actually boosts scale, but tubes just solve spacing issues. Don’t expect planetary details to grow with these spacers alone. You trade light for this reach, needing longer exposures. Thick tubes reduce brightness considerably. Use them when your focuser runs out of travel, not when you need more zoom. Since extension tubes lack lens elements, they preserve image quality while solving spacing constraints. Expert observers note that maintaining proper back focus distance is essential for achieving sharp stars across the entire sensor field. Unlike Barlow lenses which utilize optical elements to alter the light path, extension tubes rely entirely on the mechanical spacing between components to achieve the necessary focus shift without introducing additional glass. Understanding the specific focal plane location of your equipment is crucial before adding any spacers to ensure the sensor aligns correctly with the telescope’s optical output.
When to Choose a Barlow for Lunar and Planetary Views
Several key factors decide when you should grab a Barlow lens for lunar or planetary views. You want more magnification without buying tiny, uncomfortable eyepieces. A 2x or 3x Barlow doubles your current set instantly.
Now, consider your ideal eyepiece pairing. Using longer focal lengths with a Barlow keeps eye relief comfortable during long sessions. Planets stay bright enough even at higher focal ratios. Obviously, bad weather ruins high-power views regardless of gear quality.
Here’s the thing: poor observing conditions make high magnification useless. Turbulence amplifies quickly, turning crisp details into boiling mush. Stick to 2x or 3x power unless the air is exceptionally steady. Pushing beyond 400x usually yields dim, low-contrast images on amateur scopes. Barlow lenses are especially practical for enhancing views of bright celestial objects. When selecting optics, remember that optical performance varies significantly between telescope designs and affects how well a Barlow integrates with your system. Different telescope designs offer varying levels of light gathering power which directly influences the brightness of magnified planetary images. Understanding your telescope’s focal ratio helps determine the optimal magnification limits before image quality degrades.
Your takeaway? Match the Barlow to stable nights and comfortable eyepieces. Ready to solve focus issues when that setup falls short?
Solving Dobsonian Back Focus Issues With Extension Tubes
Two common signs tell you your Dobsonian can’t reach focus: the image stays blurry even with the focuser fully extended, or you have to pull the eyepiece halfway out to see clearly.
You’re facing a mechanical spacing issue where the focal plane sits too far out for your current setup. Different optical design choices shift eyepiece positioning needs, while collimation impact might slightly alter your available range.
Extension tube types bridge this gap by moving your gear outward to meet the light. You must consider sensor geometry during focus adjustments to guarantee sharp images without compromising mounting stability.
Obviously, proper focus calibration requires matching the tube length to your specific distance deficit. Don’t guess; measure the exact gap first before buying any hardware accessories today.
This fix solves spacing limits but won’t correct mirror alignment errors you might also have. Now you know how to reach that critical focal plane securely and effectively.
While extension tubes solve immediate reach problems, understanding how various optical designs perform side by side can help you decide if a different telescope setup might better suit your astrophotography goals in the long run. For instance, comparing reflector optics against other systems reveals distinct advantages in light gathering and cost efficiency for deep-sky imaging. Additionally, selecting the correct focal length is essential because it directly determines the magnification and field of view available for your specific imaging targets.
Does Adding an Extension Tube Increase Your Barlow Power?
You just fixed your focus, but now you’re wondering if that extra tube changes your magnification too. Obviously, it does. Adding an extension tube increases your Barlow power by moving the eyepiece farther from the lens element. This spacing shift boosts your effective magnification greatly without altering the telescope itself.
Here’s the thing: longer spacing makes your optical system behave like a higher-power Barlow. You gain real extension tube benefits by customizing power for specific targets. However, remember that excessive spacing might introduce spherical aberration or exceed your aperture limits. Your usable power still depends on optical quality and atmospheric conditions. While extension tubes help refractors reach focus, Newtonian telescopes often struggle with inward travel issues that prevent achieving infinity focus even with added spacing. Understanding the optical path length is crucial because every telescope has a specific distance requirement to bring light to a sharp focal point. Experienced observers know that maintaining optical alignment is essential when modifying the light path to ensure image clarity remains high. Different telescope designs, such as refractor optics, handle these focal shifts more gracefully than others due to their inherent light path configurations.
All right, so you know the tube raises power, but how much exactly? Calculating that precise number requires measuring your specific optical geometry. Don’t guess; measure your distances to find the true factor. Next, let’s figure out exactly how to calculate that new magnification number.
How to Calculate Magnification When Spacing Changes
Since you’ve already seen how spacing shifts your power, let’s pin down the exact numbers. You might wonder why your calculated magnification feels off after adding tubes. Obviously, ignoring spacing impact leads to wrong estimates because your optical train changes completely.
You must calculate using the new total focal length, not just the telescope’s native spec. A 2x Barlow on a 1,200 mm scope creates a 2,400 mm effective focal length. Doubling this length doubles your magnification if the eyepiece stays the same. Remember that the maximum useful magnification is generally limited to 50x per inch or 2x per mm of aperture, so extreme spacing increases may exceed practical limits. Selecting the right telescope ensures your aperture can support the higher magnifications achieved through extended spacing without degrading image quality. Maintaining optical alignment becomes increasingly critical as you extend the light path to prevent vignetting and loss of sharpness at the edges.
For cameras, forget magnification and use image scale instead. Your pixel size and focal length determine arcseconds per pixel directly. Increasing focal length makes each pixel cover a smaller sky patch.
Always recalculate whenever you change spacing or add components. This guarantees your visual or imaging math remains accurate every single time. Now you know exactly how to adjust your numbers correctly.
Choosing the Right Barlow Factor for Your Focal Ratio
While magnification numbers grab your attention, your telescope’s focal ratio actually dictates the right Barlow factor. Fast scopes under f/5 often need strong amplification to lengthen effective focal length, while slow f/10 systems rarely require more than 2x. You must match Barlow selection to these specific telescope characteristics for ideal optical system performance.
Consider your existing eyepiece influence carefully before buying. A good Barlow fills a magnification gap rather than duplicating powers you already own. Faster cones aid astigmatism reduction at the field edge, making high-power choices viable for image scaling on small sensors. Obviously, Barlow compatibility matters most when spacing changes your actual factor.
Choose wisely based on your native focal ratio, not just desired zoom. This approach guarantees sharp planetary details without unnecessary complexity. Now you know which factor suits your gear best. Next, let’s stop image quality loss from excessive Dobsonian spacing.
Stop Image Quality Loss From Excessive Dobsonian Spacing
You’ve nailed the Barlow factor, but now your Dobsonian images look soft despite that perfect math. Adding extension tubes pushes magnification higher, yet your scope hits its resolving limit fast. You simply enlarge blur instead of revealing crisp planetary details.
Here’s the thing: excessive spacing makes a 2x Barlow act like a 4x monster. Your eight-inch mirror can’t support that huge effective focal length under average seeing. Fine features soften because you exceeded the telescope’s useful power range. Remember that maximum useful magnification is generally determined by multiplying your telescope diameter by 30, so pushing beyond this with extra spacing guarantees blurry results.
You need ideal spacing to maintain true image clarity without oversampling. Keep the Barlow close to your camera sensor rather than adding extra tubes. This setup prevents vibration sensitivity and focus errors from ruining your shots.
Obviously, bigger isn’t always better when atmospheric turbulence limits your view. Stick to moderate amplification for sharper results tonight. Ready to build a stable train that actually works?
Assembling Your Dobsonian Planetary Imaging Train
Now that you’ve fixed your spacing, let’s build the actual train holding your gear. You’ll start by inserting a 2x Barlow lens to reach that sweet f/20 spot. Obviously, camera matching matters here, so grab a color camera to keep things simple.
Next, slide an Atmospheric Dispersion Corrector between the Barlow and your camera. This setup fights those annoying color fringes when planets sit low. You really need this for sharp results on manual Dobsonians. It is critical to acclimatize the camera before starting to ensure the sensor reaches a stable temperature for optimal capture quality.
Don’t forget focus control, which often requires adding an external Crayford focuser. Motorized options help you tweak adjustments without shaking the whole tube. Keep friction low so your manual tracking stays smooth and steady.
Finally, connect your laptop to record video sequences for later stacking. Software like AutoStakkert! will pick the sharpest frames from your capture run. Your takeaway? Build tight, balance well, and aim for that centered target. Ready to tweak your ADC prisms for perfect color alignment?