You’re wondering how to snap crisp space photos without blurry messes. Swap auto modes for manual control immediately because cameras guess wrong in the dark. Lock focus on a bright star using live view, then tape that ring down tight. Shoot thirty to eighty frames for faint galaxies or quick video bursts for planets to beat atmospheric shake. Stack these images later to reveal hidden details your single shots missed. Keep going to master the specific settings that turn noise into art.
Choose Your Telescope Photography Method
Confusion over which method to pick is totally normal when you’re just starting out. You might wonder where your camera actually fits in the optical train. Prime focus attaches your DSLR directly to the telescope, making it perfect for deep sky imaging. Eyepiece projection boosts magnification greatly, so you use it mostly for planets. Afocal photography lets you snap shots right through an eyepiece with your phone. Now, consider how you record the light itself. Video capture records hundreds of frames quickly to fight atmospheric turbulence. You then feed those clips into stacking software to build a sharp final picture. Obviously, faint galaxies need long exposures while bright moons need speed. Each technique demands different gear setups and patience levels from you. Don’t stress about perfection yet; just pick one style to test tonight. Which target excites you enough to try first? Remember that mastering atmospheric turbulence is key to capturing crisp planetary details regardless of your chosen method. Understanding the telescope’s focal ratio is also essential, as it determines the brightness of your image and the required exposure time for different celestial objects. Beginners should also invest in a sturdy equatorial mount to ensure smooth tracking during long exposures and prevent star trails.
Match Gear to Your Chosen Imaging Style
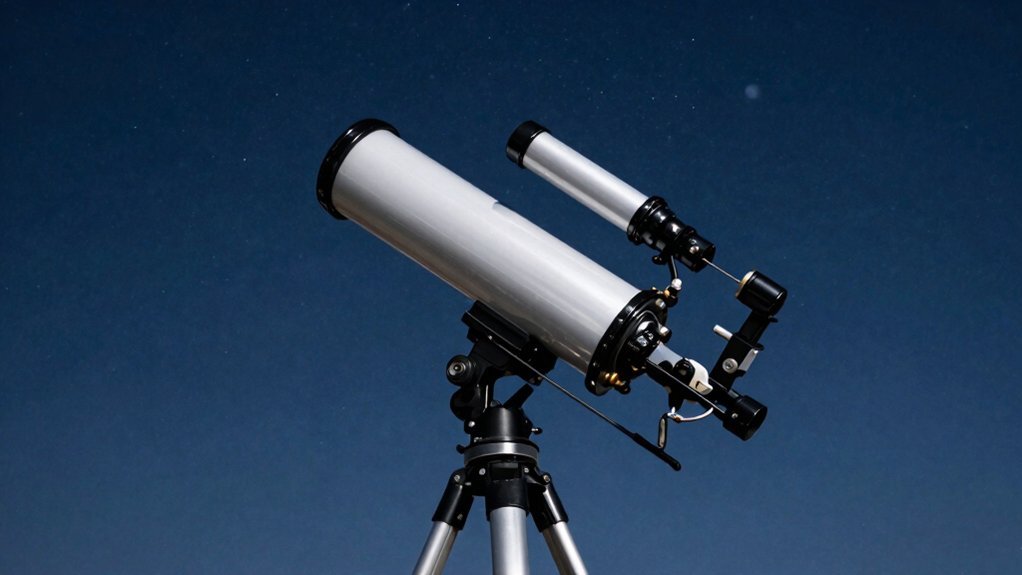
You’ve picked a style, so now let’s match your gear to that specific goal. Confused by all the options? You aren’t alone. Wide-field shooters need fast 14–24mm lenses and sturdy tripods for crisp nightscape shots. Deep-sky fans require equatorial mounts and apochromatic refractors to capture faint galaxies clearly. Planetary hunters must grab long focal length scopes like Schmidt-Cassegrains for high magnification details. For the best planetary results, you should prioritize a large aperture telescope to ensure sufficient light collection and resolution. Understanding how optical resolution limits detail visibility is crucial when selecting instruments for high-magnification targets. Just as the Hubble Space Telescope revolutionized our view of the cosmos by overcoming atmospheric distortion, your ground-based setup relies on precise gear matching to approach similar clarity. When evaluating different designs, remember that light gathering power varies significantly between reflector and refractor models, directly impacting your ability to see dim objects.
Now, consider gear compatibility carefully before buying anything. Your camera, telescope, and mount must work together seamlessly for your chosen target type. Don’t try using one universal setup for everything because it simply won’t work well. Specific imaging accessories like intervalometers or UV filters drastically improve your final results too.
Obviously, manual control remains essential across every single astrophotography style you might choose. Match your equipment strictly to your specific imaging goals for the best possible outcomes. Ready to lock that focus perfectly?
Lock Focus for Sharp Planet and Star Images
Two simple steps separate blurry blobs from crisp pinpoints of light. You need perfect focus calibration because auto-focus fails completely in the dark. Switch your lens to manual mode immediately to take full control.
Now, activate live view and magnify that bright star ten times. Turn the focus ring slowly until the star shrinks to a tiny point. Obviously, you must verify this sharpness with a quick test exposure. Check the image at full zoom to confirm no halos remain.
Here’s the thing: even slight bumps ruin your hard work instantly. Tape the focus ring down securely so nothing shifts during shooting. This simple trick saves your session from accidental blurring later on. You’ll capture sharp planets only if you lock everything down tight.
Keep checking your focus periodically since temperature changes can shift settings. Remember that ambient temperature affects where the infinity focus point lands, requiring you to retest focus when conditions change. Thermal expansion in the telescope tube can also subtly alter the focal plane, so monitoring equipment stability is crucial for long imaging sessions. Understanding the specific optical design of your instrument helps predict how these environmental factors will impact your final image quality. Always ensure your optics are free of dust using safe cleaning methods before beginning your imaging session to prevent artifacts. Ready to set your shutter speed and ISO correctly next?
Dial In Manual Exposure for Night Sky Targets
Since auto-exposure fails completely in the dark, you must switch to manual mode to lock your settings. You need fixed aperture, shutter speed, and ISO for repeatable results. Start wide open at f/2.8 to gather maximum light quickly.
Now, limit shutter speed to prevent star trails using the 500 Rule. Keep exposures between ten and thirty seconds depending on your focal length. Raise ISO to 1600 or 3200 only after setting your other two variables.
Here’s the thing: proper exposure values balance brightness without washing out contrast. Use Live View and test shots to verify your specific shooting techniques. Check a bright star on your LCD to ascertain sharp points.
Avoid exposure bracketing because sky conditions change too fast between frames. You want deliberate control, not guessing games with moving targets. Get these settings right before capturing your full sequence of images. Mastering this step-by-step walkthrough ensures you get the shot right the first time. Understanding the focal length of your specific telescope is also crucial for calculating the correct exposure time to avoid blurry images. Beginners who follow a practical guide can avoid common pitfalls and achieve success on their very first attempt.
Shoot and Stack Frames by Object Type
All right, you’re wondering why your nebula shots look noisy while your moon pics seem blurry. Object type dictates your entire frame strategy. Deep sky stacking needs thirty to eighty light frames to crush noise. You must guarantee enough frame overlap so software aligns stars perfectly. Obviously, more frames mean better signal-to-noise ratios for those faint galaxies.
Planetary selection works differently because you need sharpness, not just light. Capture rapid video bursts, then stack only the crispest moments to freeze turbulence. High frame rates build usable data even on dimmer planets. Post-stack sharpening reveals those fine bands individual frames miss completely.
Lunar clarity requires fewer frames since the Moon shines brightly. Seeing-limited blur ruins detail, so pick steady frames carefully. Mosaic captures need precise alignment to avoid visible seams later. Tailor your approach to the target for best results. Ready to process those stacked images next? Remember that focal length directly affects your exposure limits, as a 400 mm setup allows for longer exposures than a 1300 mm telescope before star trailing occurs.