You’re expecting mountains, but thick clouds hide everything, leaving just a bright, featureless disk. Obviously, you’ll see phases change like the Moon, yet surface details stay invisible behind that dense veil. Use a 60mm telescope with 50x magnification and a polarizing filter to cut the glare and sharpen that yellow-white disk. If you want to understand why radar maps reveal what your eyes can’t, keep exploring.
What Does Venus Look Like Through a Telescope?
Ever wonder why Venus looks like a blinding star until you actually point a telescope at it? You see a bright, yellow-white disk instead of a tiny dot. It appears smooth and featureless because thick clouds hide the ground below.
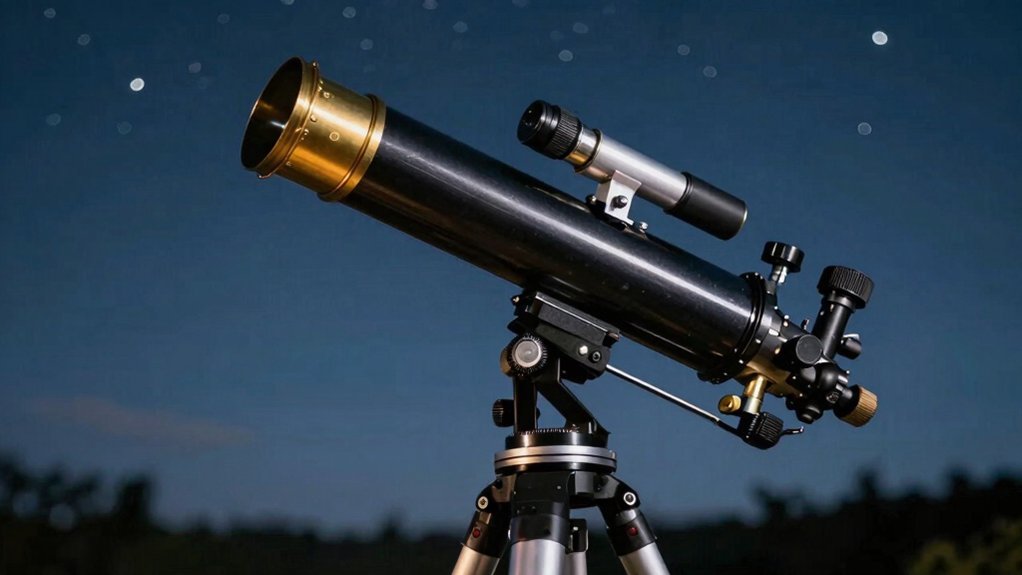
Now, your telescope settings matter hugely here. You need at least 60mm aperture and 50x magnification to resolve that distinct shape. Without proper focus, the glare just washes out everything you hope to see. Selecting the right optical aperture is crucial for gathering enough light to distinguish the planet’s disk from the surrounding sky brightness.
Atmospheric conditions also dictate what you spot on any given night. Steady air lets you catch faint cloud hints, while turbulence blurs the sharp geometric outline. Obviously, viewing when Venus sits high above the horizon helps reduce that annoying halo effect. To further improve your view, utilizing a color filter can help cut through the intense glare and enhance contrast against the daytime or twilight sky.
You will mostly notice its moon-like phase changing from crescent to full. That shifting shape remains the most obvious feature for your eyes. Ready to learn why surface details stay completely hidden from view?
This happens because the planet’s dense atmosphere scatters light, making cloud layers the only visible feature through optical instruments.
Why Do You See Phases Instead of Surface Details?
You’re wondering why that bright disk stays smooth instead of revealing craters or mountains. The answer lies in Venus’s thick, toxic cloud deck. These sulfuric acid clouds completely block your view of the rocky surface below. Obviously, this creates significant observational challenges for any amateur astronomer hoping to see terrain.
Here’s the thing: you see phases because Venus orbits inside Earth’s path. Just like our Moon, sunlight hits different angles over its 584-day cycle. Atmospheric interference scatters light so intensely that faint details vanish against the glare. Your telescope captures the changing crescent shape, not the ground. Understanding how light scattering works helps explain why surface features remain hidden despite high magnification.
All right, so focus on tracking those shifting phases instead. That brilliant white glow is actually reflected sunlight bouncing off high clouds. You will spot subtle shading sometimes, but never clear mountains. Accept that the phase itself is the main show tonight. To improve your viewing experience, try observing during daylight hours when the sky is bright enough to reduce glare while the planet remains visible. Utilizing a solar filter is critical for safety and contrast when attempting this specific daytime observation technique. Now, let’s figure out exactly which magnification works best for you.
What Are the Best Magnification and Aperture for Clear Views?
Two numbers actually decide if you’ll see a sharp crescent or a blurry blob. You need at least 60 mm aperture to spot phases clearly, but 75 mm works better. Obviously, your ideal telescope balances size with steady atmospheric conditions for crisp views. Start magnification between 50x and 100x for reliable results on most nights. Pushing to 150x helps only when the air stays calm and steady. High power without enough aperture just makes a larger, softer mess instead of detail. A three-inch scope at 120x often hits that sweet spot perfectly. Remember, bigger lenses gather more light yet still bow to bad seeing. Focus on clean phase definition rather than hunting for impossible surface marks. Your best bet remains moderate power paired with decent aperture size. Now you know exactly which settings reveal Venus’s true shape tonight. Understanding how light gathering power functions ensures you select an instrument capable of resolving fine planetary details even under less-than-perfect skies. Successful observation also depends on finding a location with minimal light pollution to maximize contrast against the dark sky. When comparing different models, evaluating the optical performance helps determine which telescope design offers the sharpest views for your specific budget and needs.
Which Filters Reduce Glare and Reveal Cloud Bands?
Why does Venus still look like a blinding white disk even with good magnification? You need neutral density or polarizing filters to cut that intense glare immediately. Moon filters work well here, limiting irradiation so you can actually study the disk.
Now, how do you spot those faint markings? Blue W38A or violet W47 filters boost cloud visibility by enhancing contrast against yellowish clouds. Filter effectiveness depends on your goal; yellow options sharpen features while violet reveals upper atmosphere structures. Understanding the specific light transmission properties of these optics ensures you select the correct tool for observing subtle atmospheric details without compromising image quality.
Obviously, stacking filters helps, but don’t dim the image too much or you lose detail. You must match your filter choice to your telescope’s brightness for the best results. Try alternating colors to see subtle variations in the polar regions yourself.
Start with a variable polarizer if Venus overwhelms your view tonight. What specific atmospheric layer will you target first? Selecting the right optics is crucial, as different telescope options offer varying levels of light gathering and resolution that directly impact how well these filters perform. Successful observation also requires ensuring your mount provides stable tracking to maintain focus during long viewing sessions with high magnification power.
What Surface Features Remain Invisible to Observers?
You’ve filtered the glare and hunted for cloud bands, yet the ground stays hidden. That thick cloud deck blocks every single mountain, valley, or plateau you hope to see. You simply cannot resolve any surface topography through your telescope in visible light.
Volcanic features like massive shield volcanoes or fresh lava domes remain completely concealed too. Even huge regions like Ishtar Terra vanish behind that bright, yellow-white disk. Radar maps reveal these secrets, but your eyepiece only shows opaque atmosphere.
Obviously, impact craters and tectonic scars stay invisible since the surface itself is gone. You won’t spot individual rocks, basaltic slabs, or true ground colors either. The clouds hide all geologic structure and fine erosional patterns from your view.
Your telescope reveals cloud tops, not the rocky world beneath. Accept this limit, then focus on tracking those elusive atmospheric phases instead. To truly understand what lies below, astronomers rely on radar imaging to penetrate the dense veil and map the terrain. Since visible light cannot pierce this barrier, observers must depend on radio waves to uncover the hidden landscape. Unlike optical instruments that struggle with such opacity, selecting the right telescope types is crucial for maximizing views of other planetary bodies where surface details are accessible.