You’re wondering how one lens doubles magnification without new eyepieces, and you’re right to ask. You simply insert the Barlow between your focuser and eyepiece, then rack outward to refocus. Obviously, this stretches your focal length, but don’t push past 50x per inch of aperture or images blur. Now, let’s explore exactly where to place it in your optical train for the sharpest views ahead.
How Does a Barlow Lens Increase Magnification?
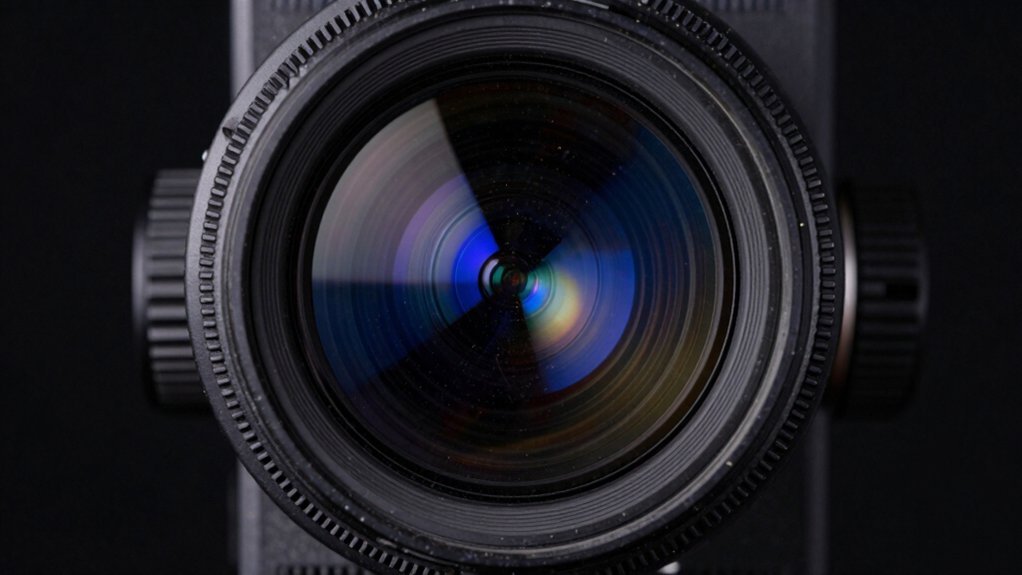
Wondering how a tiny lens suddenly doubles your view? You place this negative lens before your eyepiece, spreading light cones outward. This action increases your telescope’s effective focal length instantly. Obviously, higher focal length means higher magnification without changing tubes.
Different Barlow types offer various magnification factors like 2x or 3x. These multipliers boost your eyepiece power while maintaining good eye relief. Understanding optical principles shows why moving the focal plane matters here. Eyepiece compatibility guarantees you get sharp images across your whole set. When selecting optics, consider how optical performance varies between different telescope designs to ensure the Barlow complements your specific instrument.
Viewing effects include noticeable field reduction and lower image brightness per area. A 2x Barlow halves your field but doubles the image scale. You gain more power options without buying expensive short focal length eyepieces. Just remember that poor seeing conditions limit usable high-power views considerably. This device functions similarly to a teleconverter in photography by extending the optical path to achieve greater reach. Crucially, the lens group inside creates a diverging beam that effectively stretches the light path before it reaches your eye. Much like the revolutionary telescope that unveiled new cosmic legacies, this small component fundamentally alters how we perceive distant objects.
You now know exactly how this simple lens boosts your magnification. Ready to see what happens when you actually install one?
Install Your Barlow Lens Correctly
Grab your gear and let’s get that Barlow seated properly. You’re probably wondering where things usually go wrong during telescope preparation. Start by removing every dust cap and cleaning your optics gently. Check accessory compatibility first; your 1.25-inch or 2-inch sizes must match perfectly.
Slide the chrome nose barrel squarely into the focuser or diagonal opening. Never force it, since resistance often means misalignment or wrong sizing. Use a reducer adapter if your Barlow needs to fit a larger tube. Visualizing the light path extension helps clarify how the internal lens group spreads incoming light before it reaches your eyepiece. Proper alignment ensures the optical axis remains centered for the sharpest possible image quality.
Tighten the thumbscrew just enough to stop wobbling without crushing the barrel. Insert your eyepiece straight into the top, then lock it down snugly. Verify everything feels solid before you start hunting for focus adjustments. Remember that this setup effectively acts to double the focal length of your telescope, enhancing magnification without requiring new eyepieces. Confirming the current status of your equipment ensures all components are secure before observation begins.
Your setup now stands ready for clear, high-magnification views tonight. Ready to see exactly where this piece fits in your optical train?
Where Does the Barlow Fit in the Optical Train?
You’ve got the lens seated, but you’re probably unsure exactly where it belongs in the line. Obviously, correct Barlow placement matters significantly for your specific optical train. You must insert this device before your eyepiece, never after it.
For visual observing, slide the Barlow between your focuser and the eyepiece. Refractor users often place it between the diagonal and the glass. Newtonian owners usually push it directly into the main drawtube instead. The eyepiece then fits snugly into the Barlow’s own top barrel.
Astrophotographers follow the same rule by mounting the camera onto the Barlow. This diverging lens extends your light path before hitting the sensor or eye. Your telescope effectively doubles its focal length with a standard two-times model. Positioning here directly controls your final magnification and image scale clearly. Always keep the Barlow upstream of your viewing or recording device. Now you know exactly where this essential piece fits perfectly today. Understanding that a Barlow acts as a diverging lens clarifies why it must sit upstream to extend the light cone before it reaches your eyepiece or camera sensor. Placing the unit in this specific order ensures the optical train functions correctly to achieve the intended magnification without degrading image quality. Proper insertion maintains the focal ratio required for sharp, high-contrast views across different telescope designs.
How Do You Focus After Adding a Barlow?
How exactly do you sharpen that blurry view after sliding in the Barlow? You must refocus because the lens pushes the focal point outward greatly. Your telescope’s normal mechanism handles this shift easily once you understand the new geometry.
Try these specific focusing techniques to snap that image back into crisp clarity quickly. Rack your focuser outward until the stars shrink from fuzzy blobs into sharp points again. Sometimes you need extra travel, so pull your eyepiece slightly out of the drawtube.
These minor eyepiece adjustments change the spacing and help you reach that critical focus plane. Obviously, the magnification shifts slightly as you alter the distance between components too. Just keep tweaking until the view looks perfect for your specific optical setup tonight. Effective focusing also relies on the stability provided by a sturdy mounting system to prevent vibrations from blurring the high-power image.
You now know exactly how to regain focus after adding extra power to your scope. Remember that clear views also depend on observing conditions like steady air and dark skies. Understanding the focal length of your system is essential when calculating the final magnification achieved with the Barlow lens. Ready to explore if you can boost that magnification even further beyond standard limits?
Can You Boost Barlow Magnification Beyond 2x?
You might wonder if that 2x label on your Barlow is a hard ceiling. It isn’t. You can boost power by increasing effective optical spacing between the lens and eyepiece. Moving the eyepiece farther away actually raises magnification considerably beyond the nominal rating.
However, respect Barlow magnification limits before ruining your view. Pushing too hard hits observable detail thresholds where images just get dimmer and blurrier. Higher Barlow designs exist, but changing spacing often works better for specific Barlow usage scenarios.
Consider Barlow compatibility factors when adding extension tubes to reach 3x or 4x. Comparing Barlow types helps you decide between native multipliers or alternative magnification methods. Obviously, exceeding your telescope’s aperture capacity yields no new detail. Stick to practical ranges like 30x per inch of aperture. Different optical systems react uniquely to these changes, so understanding telescope optical designs ensures you match the right equipment to your viewing goals. Achieving sharp views at high power also depends heavily on maintaining proper collimation alignment throughout your optical train.
Don’t sacrifice clarity for sheer size. Now, decide if your current setup handles extra power before tweaking further. When evaluating your gear, remember that comparing telescope options reveals how different optical designs handle high magnification loads differently.
How Do You Use a Barlow for Astrophotography?
Many astrophotographers wonder exactly where that Barlow lens fits in their camera train. You insert it before the camera adapter, securing every connection tightly against flexure. Different Barlow types offer varied amplification, so choose wisely for your specific camera pairing.
Now, consider how Barlow benefits your imaging techniques by boosting planetary detail greatly. You must account for atmospheric effects when selecting targets for high-magnification shots. Start with a 2x model, then adjust spacing to fine-tune your effective focal length.
All right, dial in exposure adjustments manually to combat turbulence during short captures. Tracking stability becomes critical here because narrow fields drift faster than you expect. Use live view and a Bahtinov mask to nail sharp focus on bright stars.
Your final image quality depends entirely on these precise setup steps and steady mounting. Ready to tackle dimmer views next?
Why Is the View Dim Through My Barlow?
That sharp planetary detail you just captured often comes with a darker view through the eyepiece. You notice this brightness loss immediately because extra glass reduces light throughput. Your Barlow increases the effective focal length, spreading available light over a larger area.
Now, consider how optical geometry changes your system’s f-ratio notably. A 2x Barlow on an f/10 scope creates an f/20 system, dimming the view. These dimness factors become obvious during high power viewing sessions. Visual comfort drops as magnification pushes beyond practical limits for your aperture. Understanding exit pupil size helps explain why the image appears darker as the beam of light entering your eye narrows significantly.
Poor viewing conditions make this effect even worse on extended objects. Obviously, smaller telescopes show dimness sooner since they gather less light initially. Better optics help, but physics dictates this tradeoff for extra magnification power. Modern designs utilize multiple coatings to enhance brightness and counteract some of this inherent light loss. When selecting equipment, remember that telescope aperture fundamentally determines how much light your system can gather before any magnification is applied. Choosing the right optical design ensures your instrument balances light gathering power with the specific magnification needs of your target objects.
Accept that dimmer views are the normal cost of seeing finer details clearly. Next, you must confirm your focuser travels far enough to reach sharp focus.
How Do You Fix Barlow Focus Travel Issues?
Since your focuser won’t rack in far enough, you’re probably wondering why the image stays blurry. You likely need about half an inch more inward travel than usual. Running the focuser outward won’t help; you must rack it slowly inward from the fully extended position.
Now, try removing your diagonal to shorten the optical path considerably. Connecting the Barlow directly to the telescope often solves these tricky travel limitations instantly. You can also pull the Barlow slightly out of the drawtube for extra spacing.
Here’s the thing: small mechanical shifts of just a few millimeters frequently restore sharp focus. Consider swapping to a short-tube Barlow if your current setup demands too much room. These simple focus adjustments beat buying new equipment every time.
Test different eyepiece combinations during daytime to isolate the specific culprit causing your blur. Remember that understanding optical path length is critical when diagnosing why your system cannot achieve focus with added magnification. Different telescope designs have varying focal plane locations which directly determine whether your current accessories can reach the point of sharp focus.
When Should You Avoid Using a Barlow Lens?
Although you might think more power always means better views, pushing magnification too hard actually ruins the image. You create excessive magnification when you exceed fifty times your aperture in inches. The result is just a blurry, dim mess that hides details instead of revealing them.
Check your telescope compatibility before adding glass. Long focal ratio scopes often gain little from strong Barlows, making a 2x lens the sensible limit. You also skip Barlows for deep sky photography because they reduce crucial signal reaching your camera sensor. Stacking multiple lenses introduces optical issues that further degrade image quality through chromatic aberration and light loss.
Avoid redundant magnification if your eyepiece case already covers those focal lengths. Why add complexity without real observing benefits? Poor seeing conditions also negate any advantage, turning steady stars into dancing blobs.
Stop using a Barlow when it makes your view worse rather than sharper. Now, are you ready to calculate your scope’s true maximum useful power?