You’re wondering if eyepiece and ocular lens differ, and obviously, they don’t. They’re the exact same part you look through, just labeled differently by brands to sound fancy. Now, understand that this lens magnifies the image from the objective, not the specimen itself. You’ll find it sits at the top, acting as your final visual gateway. Keep scrolling to uncover how picking the right one changes what you actually see.
What Is the Difference Between Eyepiece and Ocular Lens?
If you’ve been scratching your head over whether an eyepiece and an ocular lens are different, you’re asking the right question. Honestly, they’re just two names for the exact same part you look through.
Now, let’s clear up this eyepiece terminology confusion quickly. Manufacturers often swap these words, but you’re always viewing the same component at the microscope’s top.
Here’s the thing about ocular lens functions though. They magnify the intermediate image so your eye sees a sharp, virtual picture of the specimen.
Obviously, no functional difference exists between the terms in daily use. You simply pick one name and stick with it for clarity.
All right, so you know they’re identical twins with different labels. Does this mean their internal lens designs vary wildly? Just as with telescopes, understanding how light gathering works is essential for choosing the right equipment to see clearly. In telescope optics, the aperture size directly determines how much light enters the system, which is critical for viewing faint celestial objects. This principle mirrors the impact of revolutionary telescope designs that transformed astronomy by allowing scientists to observe deeper into space than ever before.
How Does a Microscope Eyepiece Magnify Images?
Since you’re wondering how that little lens actually boosts the view, let’s break down the magic. You see, the eyepiece doesn’t magnify the specimen directly. Instead, it acts like a powerful magnifying glass for the real image the objective lens already created. This two-stage process is the core of microscope magnification mechanics.
Now, here’s the thing about what you actually see. The eyepiece takes that intermediate image and creates virtual images that your eye perceives as huge. If you use a 10× eyepiece with a 4× objective, you get 40× total magnification instantly. Obviously, higher numbers don’t always mean better clarity though. Just as selecting the right optical setup is critical for astronomy, understanding these magnification mechanics ensures you choose the perfect telescope or microscope for your specific viewing needs. This principle of layered optics mirrors the revolutionary telescope designs that transformed our view of the cosmos by combining specific lenses to achieve unprecedented clarity. Much like observing the night sky requires dark sky conditions to reveal faint celestial objects, achieving maximum clarity in microscopy depends on optimizing both the optics and the environmental setup.
Where Is the Ocular Lens Located in the System?
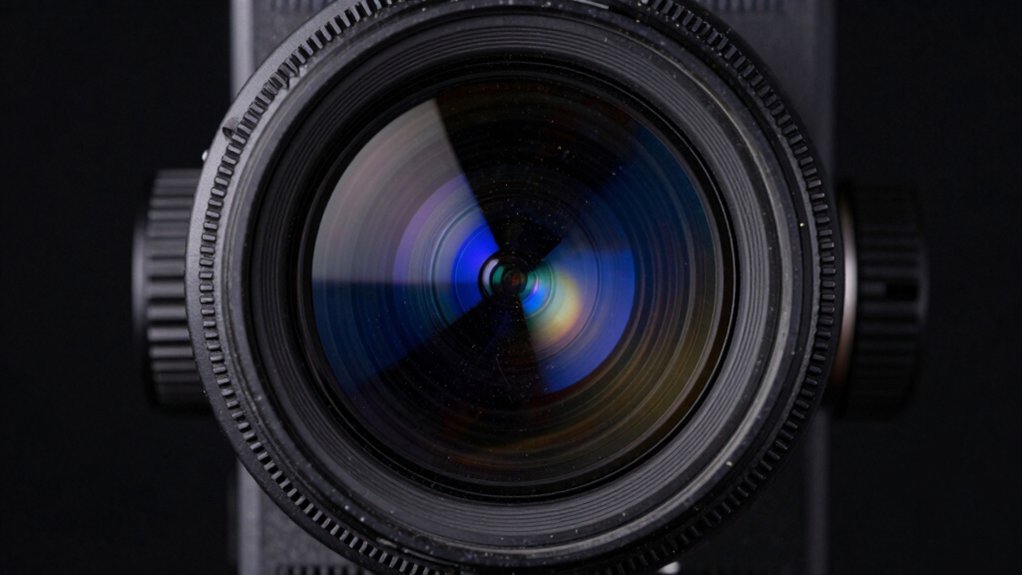
Where exactly does that ocular lens sit in your setup? You’ll find it right at the viewing end, closest to your eye. It sits above the objective lenses in microscopes or at the rear of telescopes. This position guarantees proper optical alignment for clear viewing.
Obviously, this component receives the image formed by the primary optics first. You look directly through this cylindrical barrel to see magnified details. Don’t confuse this instrument part with your own eye’s internal crystalline lens. They serve similar focusing roles but exist in completely different systems entirely.
Here’s the thing: location defines its function as the final visual gateway. You need this specific placement to inspect specimens or distant stars effectively. Now you know precisely where this critical glass element resides within your device. Next, let’s explore how its internal components actually process that light. Understanding the underlying mechanics makes these complex optical paths simple to grasp for everyone. When selecting gear, remember that optical performance varies significantly between telescope types based on their specific lens configurations and intended stargazing needs.
How Do Field and Eye Lenses Work Together?
Although it looks like one piece, your eyepiece actually hides two distinct lenses working as a team. You might wonder how they split the work so perfectly without you noticing.
The field lens grabs stray light rays first, bending them toward the center axis. This specific field lens functionality guarantees you see a bright, wide image instead of a dark, narrow tunnel. It redirects light that would otherwise get lost at the edges of your view.
Next, the eye lens design takes those prepared rays and magnifies them for your retina. This second stage creates the final virtual image you actually observe through the instrument. Together, they reduce annoying distortions while enhancing overall brightness considerably. Proper alignment ensures the optical axis remains stable to prevent image degradation during observation. By controlling the exit pupil size, these lenses ensure the light cone matches your eye’s aperture for maximum clarity.
You get a clearer, wider picture because these two components cooperate seamlessly inside the tube. Selecting the right telescope options depends on understanding how these optical teams perform across different costs and stargazing needs. Now that you understand their teamwork, are you ready to pick the right magnification?
Which Eyepiece Magnification Should You Choose?
How exactly do you pick the right magnification without guessing? You calculate it by dividing your telescope’s focal length by the eyepiece’s focal length. Obviously, shorter focal lengths yield higher power, while longer ones widen your view.
Start low to find targets easily, then zoom in for details on planets. Your eyepiece selection depends heavily on what you’re viewing and current sky conditions. High power shrinks fields and amplifies atmospheric shake, so don’t overdo it.
Remember that magnification impact varies; faint nebulae need low power, but moons demand high. Aim for roughly 50x per inch of aperture as a practical ceiling.
Choose your focal length based on the object, not just a fixed number. Now you know how to match power to your specific observing goals. Next, consider why brands make these terms so confusing. To ensure optimal brightness, you should verify that the exit pupil does not exceed your eye’s dilation limit, as larger beams result in lost light. Understanding the true field of view helps you determine how much of the sky will actually be visible through a specific eyepiece combination. Different telescope designs utilize unique optical systems that can further influence image quality and compatibility with various eyepieces. Additionally, the light gathering capability of your telescope determines how faint an object you can see at any given magnification.
Why Do Brands Use Confusing Optical Terms?
Why do brands insist on using such baffling optical terms? You feel lost because companies deliberately craft names to sound technical. They use specific branding strategies to signal expertise in a crowded market. Obviously, this technical jargon makes them appear more specialized than competitors.
Marketing teams choose broad labels over precise definitions to appeal widely. Trademark rules actually encourage distinctive but vague terms for better legal protection. You see words like “ocular” used loosely because context changes meaning. This confusion acts as a shortcut, saving brands from plain explanations. Even historical milestones like the revolutionary telescope demonstrate how significant optical advancements often get simplified or obscured by later marketing narratives.
Now, understand that language choice becomes part of their unique identity. They modify spellings or invent variants so you remember them specifically. Clear positioning matters less than sounding authoritative to your niche audience.
Ultimately, you face ambiguity because overlapping fields lack a single defining authority. Recognize these tactics so you can look past the fancy labels. While marketing creates confusion, understanding the actual differences between main telescope types helps you make better purchasing decisions. Knowing the specific optical design of a scope clarifies why certain eyepieces perform better than others regardless of the brand name used. Next, let’s explore how eye relief actually impacts your viewing comfort.
How Does Eye Relief Impact Viewing Comfort?
Ever wonder why your eyes strain after just a few minutes of looking through a scope? You likely miss the sweet spot for eye relief. This distance between your eye and the lens defines your viewing comfort across all optical devices.
Now, finding that perfect zone lets you enjoy relaxed viewing without forcing your head forward. If you wear glasses, you need extra space to see the full field clearly. Obviously, cramped images cause fatigue fast, so adjust your eyecups or mount position immediately.
High magnification demands precise alignment, while proper posture keeps you stable during long sessions. You must check this setting at maximum zoom to guarantee tolerance stays tight. Get this right, and your eyes stay happy for hours. Next, you might ask if these parts swap between different tools.
Can Telescope Eyepieces Fit Microscopes?
Can you really swap your telescope eyepiece into a microscope? Usually, you cannot because physical diameters differ greatly between devices. Your 1.25-inch telescope eyepiece simply won’t fit standard 30 mm microscope holders. Obviously, telescope compatibility relies heavily on these specific tube sizes rather than brand names.
Now, some people try using special adapter solutions to bridge this gap. You might find C-mount or T2 adapters that physically connect the two instruments. However, even with a secure fit, your image often fails to reach proper focus. The optical designs differ too much for clear viewing in most cases. Short focal lengths below 10 mm become especially impractical for comfortable microscopy work. You end up with dim, vague views instead of sharp, bright images. Don’t expect universal success just because an adapter exists for your setup. Stick to dedicated microscope eyepieces for reliable performance and ideal visual clarity today. Successful adaptation often requires specific 42 mm to 48 mm converters to align the differing outer measurements of telescope optics with microscope bodies. Just as selecting the right telescope type depends on your specific stargazing goals, matching optical instruments requires respecting their unique mechanical and optical constraints. Understanding the precise focal length of your equipment is essential before attempting any cross-platform optical modifications to ensure viable magnification results. Beginners should remember that the exit pupil size determines image brightness and must be calculated carefully when mixing different optical systems.
When Must You Define Ocular Lens Clearly?
Since “ocular lens” can mean either your eye’s crystalline lens or a microscope eyepiece, you need to define it clearly right away. You often stumble here because context changes everything instantly.
Now, specify ocular lens definitions early in medical or technical writing. Use “crystalline lens” when discussing how your eye focuses light naturally. Obviously, mixing these terms confuses students and researchers alike.
Here’s the thing: microscopes use oculars to magnify images, usually at 10x. Contrast this with crystal lens characteristics like automatic shape-shifting for near vision. You must distinguish biological functions from optical instrument parts explicitly.
All right, always state your context in the very first sentence. This simple step prevents massive misunderstanding for your diverse audience. Clarity saves everyone time and frustration immediately.