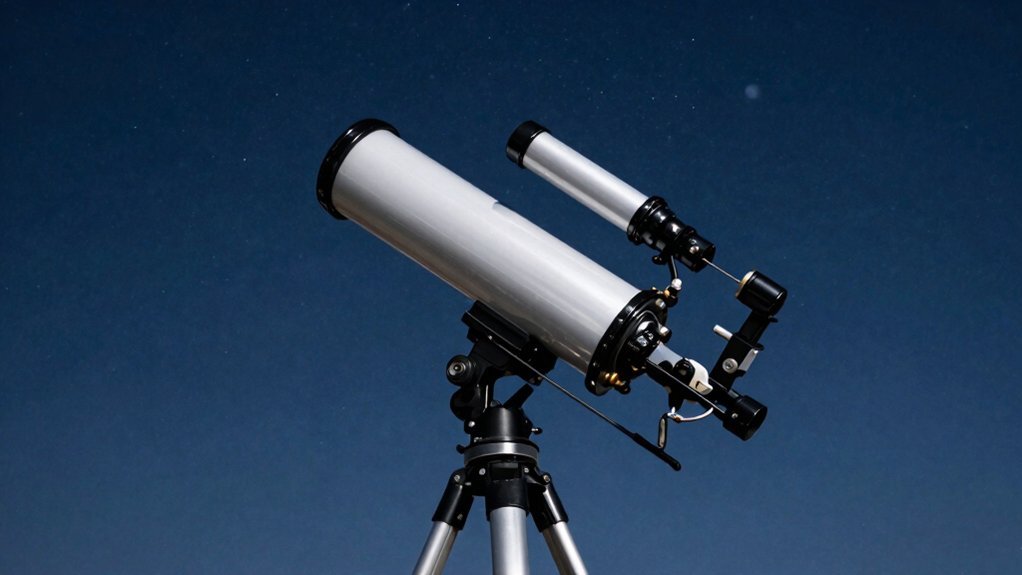
You’re wondering how to actually use that telescope, right? Think of it as a light bucket, not just a magnifier, where aperture size catches faint photons. Let your eyes adapt for twenty minutes using red light, then align your finder scope on a distant daylight object. Start with low-power eyepieces to locate bright patterns before sharpening focus on deep sky targets. Stick with this flow, and you’ll soon discover exactly how the night sky reveals its secrets.
Understand How Your Telescope Gathers Light
Since you’re wondering how these tubes actually work, let’s clear up the confusion right now. Your telescope acts as a light bucket, grabbing faint rays from deep space. Light gathering remains the core job, turning invisible dots into visible wonders.
Aperture size directly controls your light collection power. A larger opening intercepts more photons, boosting telescope performance considerably. Refractor design uses lenses to bend light, while reflector efficiency relies on mirrors. Both optical components focus energy onto a single point for viewing. Because stars emit light in all directions creating a spherical wavefront, telescopes capture only a minuscule section of this expanding energy. Choosing the right aperture diameter ensures you collect enough light to see faint celestial objects clearly. This fundamental principle explains why optical resolution improves significantly with larger instruments, allowing you to distinguish fine details on planets and separate close binary stars. Proper light gathering capability is essential before considering any magnification factors.
Focusing methods vary, but the goal stays identical: sharpening that gathered beam. You need maximum light before magnification ever happens. Obviously, bigger mirrors or lenses reveal dimmer objects clearly. Master these basics to see the universe properly. Now you understand the mechanics behind your view. Next, consider where you’ll set up for the best results.
Prepare Your Eyes and Site for Night Vision
Your eyes need a solid twenty minutes to truly wake up in the dark. White light ruins this dark adaptation instantly, so ditch your phone screen now. Use a red-light torch instead to keep your night vision sharp while you wait. This specific wavelength helps preserve the rodopsin buildup required for maximum light sensitivity.
Pick a site far from streetlights and moonlight for the darkest sky possible. Check that trees or buildings don’t block your view before sunset arrives. Obviously, arriving early helps you set up safely without stumbling around later. Understanding light pollution levels in your area can further help you select the optimal location for clear viewing. Beginners should consult a sky quality meter to objectively measure the darkness of their chosen observing site. Different telescope designs offer varying light gathering power which determines how well they perform under these specific sky conditions.
Keep your observing eye open and relaxed to catch faint details better. Try looking slightly beside objects using averted vision since your peripheral retina works harder. These observing tips guarantee you see more than just bright stars tonight.
Dress warmly so cold doesn’t force you inside before the session ends. Your telescope also needs twenty minutes to cool down for clear views. Start with low magnification to find targets quickly under these dark conditions.
Align the Finder Scope on Distant Daylight Objects
You might wonder why we’re talking about daylight when your last step was prepping for total darkness. Here’s the thing: aligning your finder scope on distant daylight objects makes night hunting infinitely easier. You need a stationary target like a chimney or antenna at least 100 yards away. Obviously, greater distance reduces parallax errors considerably. Never point your telescope at the Sun during this daylight alignment process.
Start by centering that distant object in your main eyepiece using the lowest power lens. Lock the tube tight so nothing shifts while you work. Now, look through your finder and tweak the adjustment screws until the crosshairs match the main view. Make tiny turns because over-tightening ruins your hard work. Check both views again to confirm they point exactly at the same spot. This step is essential for new and existing telescope setups to ensure accuracy regardless of the finder type used. Understanding how light gathering functions helps explain why a precise finder scope is critical for locating faint celestial bodies that the naked eye cannot see. Different optical designs offer varying levels of image clarity which can impact how easily you distinguish your target against the daytime sky. Properly calibrating your equipment ensures optical performance remains consistent when transitioning from bright terrestrial targets to dim deep-sky objects.
Your takeaway? Perfect alignment now saves frustration later under the stars. Ready to map those constellations?
Identify Target Constellations With a Star Map
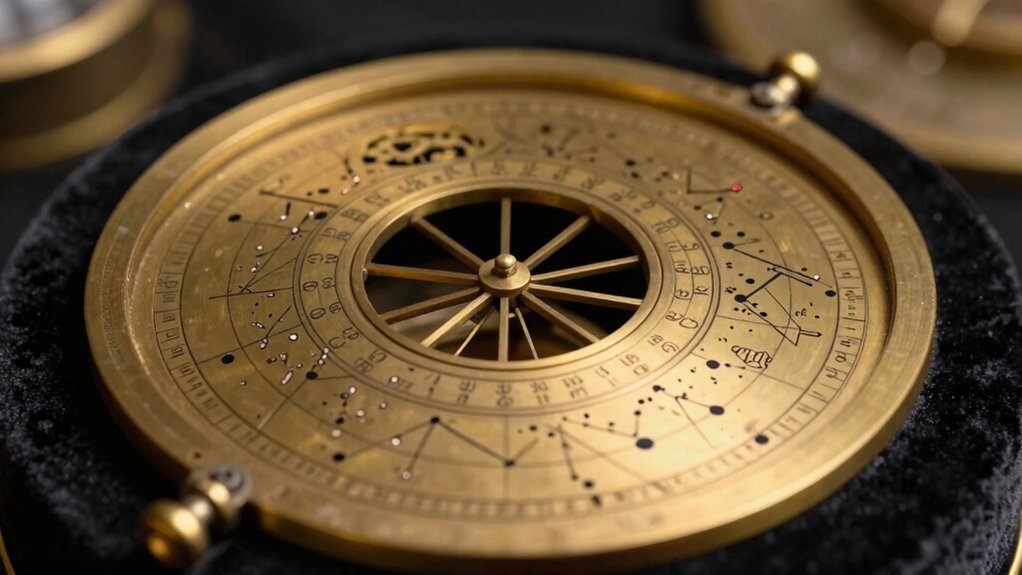
Grab a planisphere matched to your latitude and season, because the visible sky shifts with both. You’re probably wondering how to match that plastic wheel to the real sky above. It’s simpler than you think once you grasp these star map basics.
Rotate the dial until your facing direction sits at the bottom edge. This alignment guarantees the chart mirrors the actual stars left-to-right. Obviously, holding it upside down just confuses your constellation recognition efforts immediately.
Start by spotting bright, easy patterns like Orion’s Belt or the Big Dipper. Use these famous shapes as anchor points to find fainter neighbors nearby. Comparing the map repeatedly against the sky builds your mental catalog fast. While a planisphere helps you locate these patterns, selecting the right telescope type based on your specific viewing goals will significantly enhance what you can see once you have identified your target.
You now hold the key to steering the entire night sphere confidently. Ready to point your telescope at something specific within those star lines? Understanding how atmospheric refraction bends starlight near the horizon ensures you aim your instrument precisely where the target actually appears rather than where the map suggests. To get the clearest view possible, allow your optics to undergo thermal equilibrium with the outside air before beginning your observation session.
Locate Deep Sky Objects Using Low-Power Eyepieces
Now that you’ve mapped the stars, you’re probably staring at a blank patch of sky wondering where those fuzzy deep-sky objects actually hide.
Grab a 25mm or 32mm eyepiece for your initial search techniques. This low power offers a wide view, helping you trace familiar star patterns while hunting. You need this magnification balance to spot faint items with low surface brightness against the dark sky.
Focus on beginner targets like large open clusters first. Their size makes object framing easy, letting you separate cluster stars from the background field. Smart eyepiece selection prevents losing your target during these early sweeps.
Follow these observation tips: hop from bright star to bright star using your chart. Don’t jump to high power yet; scan slowly until the glow appears. Mastering this wide-field approach guarantees you actually find things before zooming in.
Understanding the specific telescope types available can further refine your ability to locate these elusive targets based on their optical design. For instance, knowing your instrument’s optical design helps predict how well it will resolve faint details in different sky conditions. Utilizing a star chart alongside your low-power sweep significantly increases the accuracy of your star-hopping navigation.
Ready to lock onto that faint smudge you just spotted?
Center Targets Before Switching to High Magnification
Lock that fuzzy smudge dead-center before you swap eyepieces. You’re wondering why your target vanishes when you zoom in, right? Here’s the thing: high magnification shrinks your view drastically. Even tiny aiming errors kick the object right out of sight.
Start with your lowest-power eyepiece for the widest possible field. Use slow-motion controls to nudge the object exactly to the middle. This simple viewing technique saves you endless frustration later on. Obviously, optical alignment between your finder and main scope matters too. Check both views agree before you touch anything else. Maintaining proper collimation alignment ensures your optics perform at their peak during this critical centering phase.
Tighten your mount locks once the target sits perfectly centered. Swapping eyepieces now keeps your object stable and ready for detail. Don’t rush this step or you’ll lose your prize entirely. Mastering this centering habit makes every observation session smoother and faster. Now you’re ready to see those fine details clearly. You can verify your accuracy by switching to a higher magnification eyepiece to ensure the target remains centered before beginning detailed observation.
Adjust Focus Until Stars Appear Sharp and Clear
You’ve centered your target, but why does it still look like a fuzzy blob? Obviously, you need better focus. Start by locking onto a bright magnitude 3 star. This point source gives you the clearest signal for judging changes.
Now, apply specific focusing techniques using small, deliberate turns. Large twists miss that narrow sweet spot entirely. Pause briefly after every tweak so the image settles down. Watch closely as the star shrinks into a tiny dot.
Here’s the thing: stop turning when the star grows again. You’ve gone too far. Use 5x magnification to spot the exact moment of smallest size. Your goal is achieving pinpoint accuracy where the diffraction pattern looks perfectly symmetrical.
A crisp point means you are ready. Don’t settle for a “pretty good” blur. Atmospheric turbulence can distort clarity, so verify focus regularly as conditions change throughout the night. Understanding how light waves bend through the optics helps explain why even minor adjustments drastically alter image sharpness. Properly aligning the optical elements ensures that light converges correctly to form a sharp image. Different telescope designs utilize unique optical systems that may require slightly varied focusing approaches to reach peak performance. Next, you’ll need to protect your eyes from bright lights.
Eliminate Bright Lights to Preserve Night Vision
Every bright flash you see ruins hours of dark adaptation by bleaching rhodopsin in your rod cells. You might wonder why your vision vanishes after checking a map. Obviously, light management matters more than you think.
Switch off house lights and dim your flashlight to the lowest setting. Red filters help because rods ignore that warm spectrum effectively. Never stare directly into a beam; look twenty degrees away instead.
Closing one eye during shifts protects your progress considerably. You need twenty minutes in low light to fully adjust. Limiting brightness preserves sensitivity far better than color alone does.
Your takeaway: minimize all artificial glow to keep seeing faint stars. Now, are you ready to maximize every moment under the sky?
Allowing your eyes to undergo dark adaptation ensures you can detect the faintest celestial objects hidden in the night sky.
Troubleshoot Common Issues When Targets Vanish
When your target suddenly vanishes, don’t panic because you likely just lost alignment or focus. First, tackle finder scope issues by running quick alignment checks on distant poles during daylight. You must center objects in both scopes before nightfall to avoid losing them again. Remember that telescopes produce inverted images, which can complicate target acquisition if you are not expecting the view to be upside down.
Next, review your eyepiece selection since high magnification shrinks your view too much. Start with a 25mm lens, then increase power only after securing the target firmly. Focus adjustments often fix blurry ghosts, so turn that knob slowly while looking through the lowest power.
Check for optical obstructions like forgotten dust caps blocking your light path completely. Also, consider environmental conditions; dew or poor seeing can hide faint stars instantly. Obviously, moisture blurs everything, so let your scope acclimate outside for thirty minutes first.
Fix these basics, and your missing planets will reappear quickly in the eyepiece. Now, are you ready to lock onto that first clear image?
Execute the Perfect Sequence for First-Time Success
Two simple steps separate a blurry mess from your first clear view of the Moon. You’ve probably wondered why stars vanish instantly after you spot them. It’s usually your telescope setup or eyepiece selection causing the trouble.
First, assemble your gear on flat ground away from bright porch lights. Let the optics acclimatize for thirty minutes while you balance the tube carefully. Now, insert your lowest-power eyepiece, which always has the biggest number on it.
Point roughly at the Moon, then use slow controls to center it perfectly. Align your finder scope so the crosshairs match this centered view exactly. Once locked in, you can safely switch to higher magnification for detailed inspection. Adjusting the focuser tube slightly can help achieve clarity if the image remains blurry.
Start with bright targets instead of faint deep-sky objects for immediate success. This specific sequence guarantees a sharp image rather than a frustrating blur. Ready to try finding Saturn next?