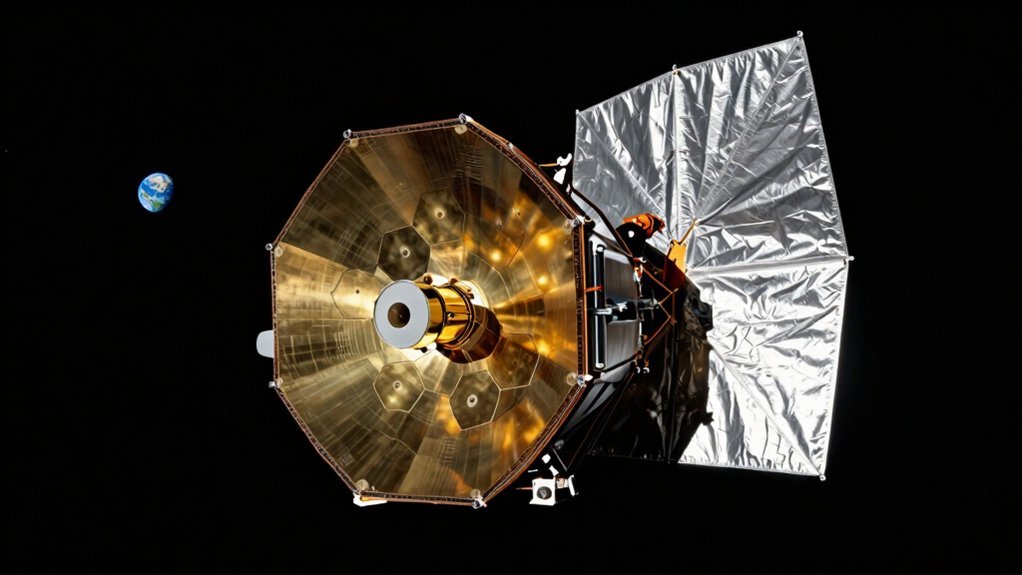
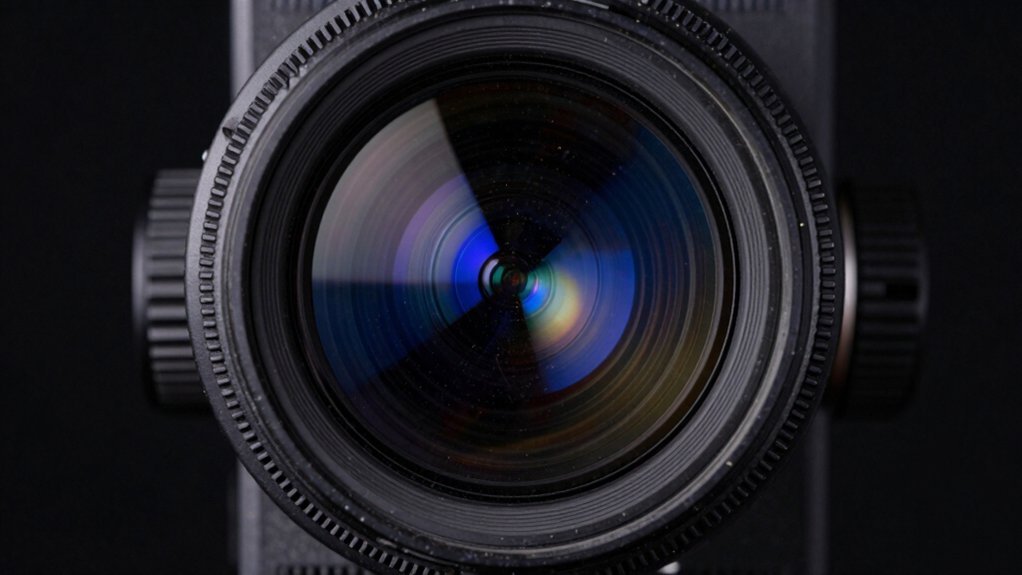
You’re wondering how a tube pulls faint starlight into focus, and it starts as a giant light bucket. Your telescope’s aperture gathers photons; doubling its width quadruples your light grasp, revealing fainter objects instantly. Mirrors or lenses then bend this light to a sharp focal point where eyepieces magnify the view. Now you see why bigger scopes show more detail without just zooming in. Keep exploring to master choosing the right design for your sky.
How Optical Telescopes Collect Light
Since you’re wondering how telescopes actually catch starlight, let’s clear that up right now. You need a big opening, called the aperture, to grab those faint photons. Doubling that diameter actually quadruples your light gathering efficiency instantly. That huge boost lets you spot incredibly dim objects hiding in the dark sky.
Your optical design chooses between glass lenses or curved mirrors for this critical job. Refractors bend light through front lenses, while reflectors bounce it off primary mirrors. Both methods funnel parallel rays toward a single focal point inside the tube. Obviously, bigger collectors mean brighter images for your eyes or cameras later. Just like a larger umbrella catches more rain, a telescope with a wider mirror surface gathers significantly more light to create brighter views. The specific shape of these optical elements ensures that parallel light rays converge precisely at the focal plane to form a clear picture. This process relies on the principle of optical convergence to direct all collected energy to one specific spot for analysis. When comparing options, optical performance varies significantly based on whether the system uses lenses or mirrors to manage aberrations and clarity.
You now understand that aperture size dictates exactly how much radiation you capture. This fundamental collection step happens before any magnification ever occurs in your journey. Ready to see how those gathered rays focus into a sharp image?
Gathering and Focusing Distant Starlight
You’ve got the aperture size down, but how does that huge opening actually turn faint specks into bright images? Think of your telescope as a giant light bucket designed for massive light interception. It grabs photons across a wide area, far exceeding what your eye can catch alone.
Now, consider light concentration. The optics condense those scattered rays into a single, usable beam. This process boosts apparent brightness considerably, making distant galaxies suddenly visible to you.
Curved mirrors or lenses steer parallel starlight until rays cross at a precise focal point. There, they form a sharp, real image ready for your eyepiece or camera. Obviously, without this focusing step, you’d just see a blurry mess of scattered energy.
Your telescope transforms weak signals into clear pictures by organizing chaos into order. Next, you need to understand exactly how those objectives bend light to create focus. The specific distance between the primary optic and this convergence zone is known as the focal length, which directly determines the magnification potential when paired with different eyepieces. This optical arrangement ensures that light rays converge precisely to render fine details visible rather than remaining diffuse. Larger apertures provide higher angular resolution, allowing you to distinguish finer details on planetary surfaces or separate close binary stars that would otherwise blur together.
How Objectives Gather and Bend Light
Two main parts handle the heavy lifting in your telescope, but the objective does the real magic. You might wonder how glass actually bends starlight to create an image. It all starts with refraction as parallel rays hit the front lens.
Proper lens curvatures force those incoming light beams to change direction immediately. Instead of spreading out, they converge sharply at specific focal points inside the tube. This bending action concentrates scattered light into a tiny, bright, inverted image. Obviously, a larger lens gathers more photons, making faint objects visible to you. The quality of this convergence relies heavily on the precise focal length determined by the lens shape and material. Expert observers often prioritize high-quality optical coatings to minimize internal reflections and maximize light transmission through the glass.
The objective finishes its job by delivering this focused real image to the eyepiece. Now you have a clear target ready for magnification without any blur. Remember, the lens creates the picture while the eyepiece just enlarges it for your eye. Next, you’ll see why massive instruments often swap glass for mirrors instead. Successful observation also depends on finding dark sky conditions away from city lights to maximize the contrast of these focused images.
Why Big Telescopes Use Mirrors
When you wonder why giants swap glass for mirrors, you’re asking the exact right question. Large lenses need perfect polishing on both sides, but mirrors only need one. This makes huge mirrors far easier and cheaper to build than massive lenses.
Also, heavy lenses sag under their own weight, ruining your view. Mirrors get support from behind, so they stay perfectly shaped. You avoid blurry color fringes too, since mirrors reflect all light wavelengths equally. Classical telescope designs reached a size limit due to the engineering challenges of supporting such massive structures.
These mirror advantages directly boost telescope performance by delivering sharper, clearer images. A single large mirror gathers vastly more light than any practical lens could. You see fainter, distant objects that smaller instruments simply miss. Modern observatories rely on this design for good reason. It works better for serious astronomy. Now you understand why reflectors rule the skies. Next, let’s see how that extra light actually brightens your images. Choosing the right telescope option depends on balancing these optical benefits against your specific stargazing needs and budget.
How Aperture Size Brightens Images
Something feels off when you compare two scopes with different sizes, doesn’t it? You notice the bigger one shows fainter stars clearly. That’s the aperture impact working hard for your eyes right now.
Here’s the thing: light grasp scales with the square of diameter. Doubling your aperture from four to eight inches quadruples collected light. You suddenly see deep-sky objects previously hidden in darkness.
Now, consider magnification. At equal power, that larger tube delivers four times brighter images. You gather more photons to spread across the same visual field. Obviously, small size increases yield massive brightness gains for dim targets.
But remember, you cannot exceed naked-eye surface brightness limits. Atmosphere and optics also constrain your final view. Larger apertures simply lower your visibility threshold for faint cosmic wonders. Understanding light gathering power is essential because it determines the faintest objects you can observe regardless of magnification. While optical quality matters, the primary mirror diameter ultimately dictates the telescope’s ability to resolve fine details and reveal faint nebulae. This physical limit means that no amount of magnification can make an object appear brighter than it does to the unaided eye, a concept known as surface brightness conservation.
Forming Images at the Focal Plane
One specific spot inside your scope holds the actual picture of the stars. You might wonder exactly where that magic happens before magnification kicks in. That critical surface is called the focal plane, where your objective lens or mirror concentrates light.
Your telescope’s main element bends incoming parallel rays until they meet at a focus. Each point in the sky lands on a unique spot here, creating a real image. Obviously, longer focal lengths spread these points farther apart, changing your image scale. This precise focusing directly determines your final image clarity and sharpness.
Whether you use a refractor or reflector, the physics remains exactly the same. You can place a camera sensor right here to capture the scene directly. Don’t try to view this tiny, often inverted image with your naked eye yet. You need another tool to make it visible and large enough for viewing. Understanding how light concentration occurs at this specific location helps you choose the right equipment for your astronomical goals.
Magnifying Views With Eyepieces
That tiny image at the focal plane looks useless without help. You need an eyepiece to magnify that focused light into a view your eye can actually enjoy. Think of it as a powerful magnifier held right where the telescope forms its picture.
Your eyepiece selection directly controls magnification limits and overall viewing comfort. Swap a 25mm lens for a 10mm one, and you instantly double your power using simple math. However, pushing too hard shrinks your exit pupil, making the image dimmer and hurting image clarity. Longer eye relief of 18mm or more accommodates eyeglass wearers and is beneficial for those with astigmatism. The physical size of the lens opening, known as the aperture diameter, fundamentally dictates how much light enters the system to create that initial image. Different telescope designs utilize various optical configurations to gather and focus this light before it reaches your eyepiece.
Proper optical alignment guarantees sharpness, but atmosphere often sets the real ceiling. You can’t just zoom forever; a 100mm scope usually tops out near 200x. Balance high power with brightness for the best results. Understanding optical resolution helps explain why increasing magnification beyond this point yields no additional detail. Now you know how to tweak your view, but what determines which telescope body holds these lenses best?
Refractor vs. Reflector Telescopes
Since you’re wondering which telescope body actually holds those lenses best, let’s clear up the refractor versus reflector debate right now. Refractors use lenses while reflectors bounce light off mirrors, creating a distinct optical path for each design.
Refractor advantages include superior contrast levels and minimal maintenance needs since their sealed tubes stay aligned perfectly. However, reflector disadvantages involve occasional collimation adjustments and potential diffraction spikes that slightly reduce image quality. Reflectors typically allow for larger apertures at more reasonable costs compared to refractor designs. This cost efficiency has historically enabled the construction of groundbreaking telescopes that revolutionized our understanding of the cosmos. Expert guidance suggests that beginners should prioritize optical quality over magnification claims when selecting their first instrument. Refractors often utilize achromatic lenses to minimize color fringing and enhance image clarity for planetary observation.
You gain massive aperture benefits with reflectors, making them ideal for faint deep-sky objects on a budget. Conversely, refractors excel at sharp planetary views due to their unobstructed light gathering capabilities.
Your observing preferences ultimately dictate the best choice between these two powerful optical instruments. Consider your target objects before deciding which telescope fits your specific stargazing goals today.
How Focal Length Affects Field of View
You’ve picked your telescope type, but now you’re wondering why some views feel zoomed in while others show the whole sky. Your telescope’s focal length directly sets the image scale, determining how large objects appear. Longer lengths zoom in tight, while shorter ones reveal wider skies.
Here’s the thing: focal length and field view move in opposite directions. You face a magnification tradeoff where more detail means less sky. This relationship drives your target selection for planets versus vast nebulae. For instance, calculating the true field of view by dividing the eyepiece’s apparent field by magnification reveals exactly how much sky fits in your frame.
Now, consider your viewing preferences when planning observing strategies. True field view depends on both your scope and eyepiece design. A forty-five-degree eyepiece shows less sky than a sixty-eight-degree one at same power. This balance defines your telescope performance during every session. Obviously, matching focal length to your goals matters most. Choose wisely to frame your celestial targets perfectly. Next, let’s explore how mirrors redirect that focused light.
Redirecting Light With Secondary Mirrors
Once your primary mirror gathers light, you need a way to see that image without blocking the view. That’s exactly where secondary mirrors step in to save the day. You’ll encounter different secondary mirror types depending on your telescope’s specific design goals.
In a Newtonian scope, a flat diagonal mirror sits at 45 degrees. It performs light path redirection by bouncing the beam 90 degrees out the side. This lets you observe comfortably without sticking your head in the way. Conversely, Cassegrain designs use a curved secondary to send light back through a hole. Obviously, this trick extends the focal length while keeping the tube compact. Just remember that any secondary creates a small central obstruction in your aperture. You must balance instrument access against slight light loss for peak performance. Now you know how engineers solve the awkward viewing angle problem. Some advanced setups like the Nasmyth/Coude focus utilize three mirrors to reflect light specifically for detailed analysis. Ready to explore how these mirrors affect your final image quality?