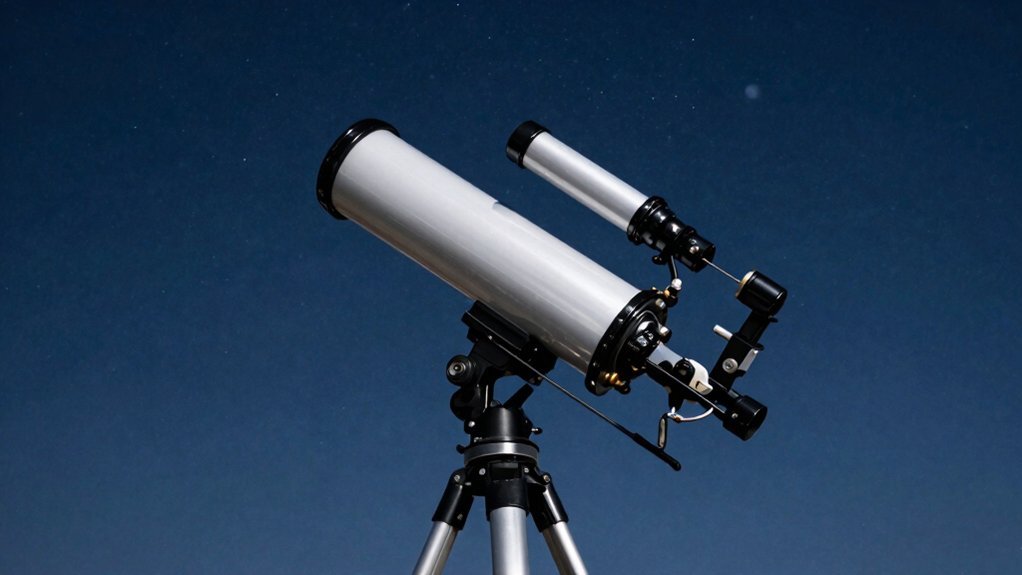
You’re frustrated when your Meade telescope shakes or misses targets despite careful setup. Here’s the thing: mastering mount locks and polar alignment transforms those blurry smudges into crisp lunar craters. You’ll need firm ground, a 25mm eyepiece, and precise finder scope calibration on a distant target. Now, let’s walk through the exact routine to stabilize your view and track the Moon effortlessly tonight. Stick with this guide, and you’ll soon be spotting fine details others miss.
Set Up Your Meade Telescope on Stable Ground
You’re probably wondering why your views shake even when the air is still. It’s usually your ground choice causing that annoying wobble right now. You need firm, level soil that won’t shift under your feet or the telescope’s weight.
Now, focus on proper tripod placement before you attach anything else. Spread those legs fully so each one sits evenly on the hard surface. Avoid soft grass because uneven settling kills your tracking accuracy instantly. Obviously, a heavy base helps dampen motion much better than a light one. You must extend the stainless steel tripod legs to the appropriate height and ensure the mount is level with the horizon. Implementing vibration isolation techniques further ensures that minor ground tremors do not compromise your observation session. Selecting a site with minimal wind exposure significantly reduces atmospheric turbulence that can blur your initial view. Concrete or asphalt surfaces often provide superior stability compared to dirt by minimizing ground vibration transmission through the tripod legs.
Here’s the thing about vibration reduction: tighten every single lock securely after positioning your system. Keep away from footpaths since nearby walking transmits shakes directly into your optical tube. Check stability by gently pushing the mount from different sides before observing.
Your solid foundation guarantees crisp images and reduces motor strain during long sessions. Ready to attach your optics next?
Install Eyepieces and Align the Finder Scope
With your tripod steady, you’re probably wondering why that distant tower still looks blurry or hard to find. You likely skipped proper eyepiece selection. Start with a low-power 25mm piece; it offers a wider view for easier targeting. Just slide it gently into the focuser until it seats firmly without forcing anything.
Now, master your focusing techniques. Point at that bright tower and turn the focus knob until edges sharpen clearly. Center this object perfectly in your main view before touching the finder scope. Once locked, switch on your red-dot finder and adjust its screws until the dot overlaps your centered target. Don’t move the telescope itself; only tweak those small alignment screws. Keep tension snug but not tight to hold everything steady. This simple sync saves you hours of searching later. For models like the 60mm and 70mm, ensure you are using the included MA eyepieces for optimal clarity during this process. Remember that maintaining optical alignment is critical for ensuring sharp images across the entire field of view. Different telescope designs offer varying light gathering capabilities which significantly impact how well you can see faint objects after alignment. Regularly cleaning your optics with proper tools ensures maximum light transmission for the clearest possible views. Ready to lock that alignment permanently?
Calibrate Finder Alignment on a Distant Target
Pick a stationary target like a chimney or telephone pole at least 200 yards away. You’re wondering why distance matters so much for this step. Obviously, farther targets boost your alignment accuracy by minimizing angular errors. Performing this task during the day ensures effective star location later when the sky is dark. This approach leverages optical parallax reduction to guarantee precise coordination between your optics. Properly aligning the finder scope relies on the principle of collinear optical axes to ensure both instruments share the exact same line of sight. Starting with low magnification provides a wider field of view that makes initial target acquisition significantly easier before switching to higher powers.
Now, center that object perfectly in your main telescope’s low-power eyepiece first. Don’t touch the finder yet; get the main view rock solid. Your telescope must stay locked tight while you work on the optics.
Next, look through your finder and use the thumbscrews for finder adjustments. Move the crosshairs or red dot until they match the main view exactly. Tighten those screws securely so nothing drifts while you observe later.
Finally, double-check the main eyepiece to verify the target hasn’t shifted. A slight bump during tightening can ruin your hard work instantly. Repeat this with a second object if you want total confidence.
Your finder now points exactly where your telescope looks. Ready to lock those mounts and start tracking?
Operate Mount Locks and Slow-Motion Controls
That wobble you feel when nudging the tube? It means your mount locks aren’t tight yet. You must secure both axes after pointing so the optical tube stops drifting during use. Obviously, loose locks ruin your view instantly.
Now, loosen the R.A. and Dec locks only when repositioning the telescope to a new target. Once you center the object, re-tighten both immediately to hold that position firmly. Never skip this step or your scope will wander off.
Here’s the thing: fine centering happens after locking. You use the slow motion controls to nudge the object perfectly into the eyepiece field. These cables act as a tracking aid, not a replacement for tight locks. Engaging the azimuth adjustment correctly ensures horizontal stability before you begin vertical fine-tuning. Consistent maintenance of the gear train prevents backlash that can disrupt these delicate adjustments.
Your takeaway? Lock first, then tweak with slow motion controls for precision. Ready to keep that star centered as Earth spins?
Properly engaging these mechanisms prevents image drift caused by mechanical vibration during high-magnification observation.
Polar Align Your Equatorial Meade Mount
You’re wondering why your stars still drift even after tightening those mount locks. It happens because your polar axis isn’t quite parallel to Earth’s rotation yet. You need precise polar alignment techniques to stop that annoying motion completely.
First, level your tripod and tilt the mount to match your local latitude exactly. Point the scope due North using Polaris or a compass for reference. If you observe from the Southern Hemisphere, you’ll use a true south reference instead. Center Polaris in your finderscope, then refine it in the main eyepiece carefully. For improved accuracy, you can thread a polar axis finder into the right ascension axis to visualize Polaris relative to the north celestial pole. Understanding the difference between magnetic north and true north is crucial when using a compass to ensure your initial pointing direction is accurate. Unlike alt-azimuth mounts which are simpler to set up, equatorial models require this specific orientation to track celestial objects smoothly across the sky using single-axis tracking.
Now, watch a star near the meridian to check for any remaining drift. Adjust the azimuth knobs left or right until north-south movement disappears entirely. Repeat this process until declination drift becomes effectively undetectable during long tracking sessions. Your mount is finally ready for serious observing or astrophotography work tonight.
Locate the Moon as Your First Target
Two reasons make the Moon your perfect first target: it’s bright and packed with detail. You’ll find it easily, even from light-polluted backyards. Start by pointing your scope roughly at the Moon before looking through any eyepiece. Center the glowing disk in your finder scope first. Then, switch to a low-power eyepiece, like a 25mm, to capture the full view. If you own an Autostar model, just select Solar System > Moon and press GOTO. The telescope slews automatically and begins moon tracking immediately. Once centered, tighten your lock knobs to hold steady. Use slow-motion controls or arrow keys to keep the cratered surface in frame as it drifts. Higher magnification reveals stunning lunar details, but remember to refocus after every eyepiece swap. Obviously, sharp focus matters most for crisp views. Consider using moon filters to reduce glare and enhance contrast while observing the bright surface. Now you’re ready to explore deeper craters. Understanding the specific optical design of your instrument can further help you anticipate how it handles brightness and contrast during observation. Mastering the focal ratio helps you understand why your telescope delivers certain field-of-view characteristics when observing large objects like the Moon. Expert observers recommend letting your optics acclimate to the night air for thermal equilibrium to ensure the steadiest possible images before high-power viewing. Next, let’s guarantee your setup stays secure during long observation sessions.
Maintain Focus and Security While Observing
Three quick habits keep your view sharp and steady while you observe. You probably worry about blurry images or shaking tubes ruining your night. Mastering specific focus techniques solves that fuzziness instantly. Start with a low-power 25mm eyepiece to find your target easily. Turn the focusing knob clockwise for distant stars until they snap into clarity. Practice on land objects during daylight first to build confidence before dark.
Now, let’s talk about vibration reduction to stop those annoying jitters. Avoid touching the eyepiece directly since your hands transfer shake immediately. Keep your tripod locks tight but move the tube gently when tracking. Let objects drift across the field instead of constant adjustments. Use a red flashlight to protect your night vision while checking charts. Obviously, bright white light ruins your dark adaptation after ten minutes. Additionally, allowing your eyes to fully adapt to the darkness significantly improves your ability to detect faint celestial details that are otherwise invisible. When selecting gear, remember that optical performance varies greatly between different telescope designs and directly impacts image clarity. Understanding the aperture size of your instrument is crucial because it determines how much light the telescope can gather to reveal dimmer objects.
Your takeaway: sharp focus and steady hands reveal true detail. Ready to try locating a planet next?